
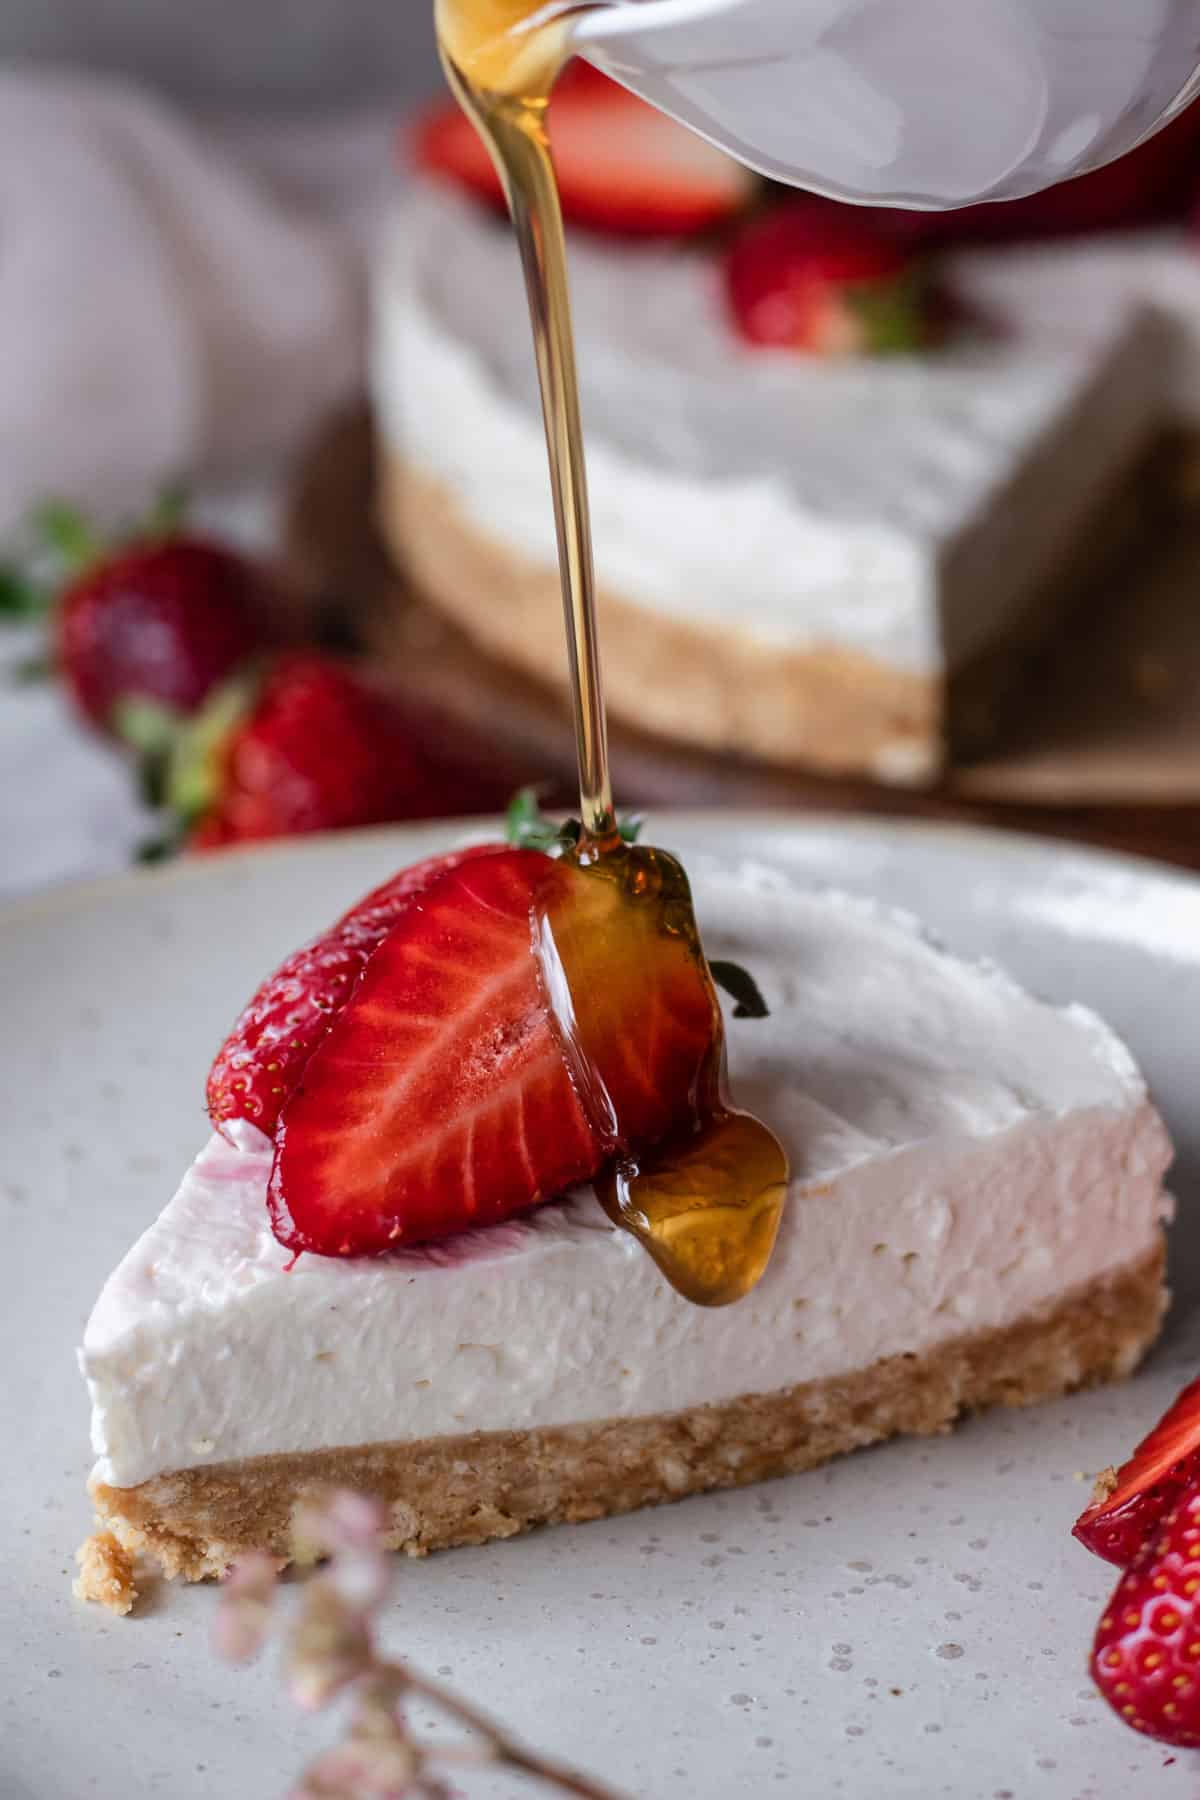
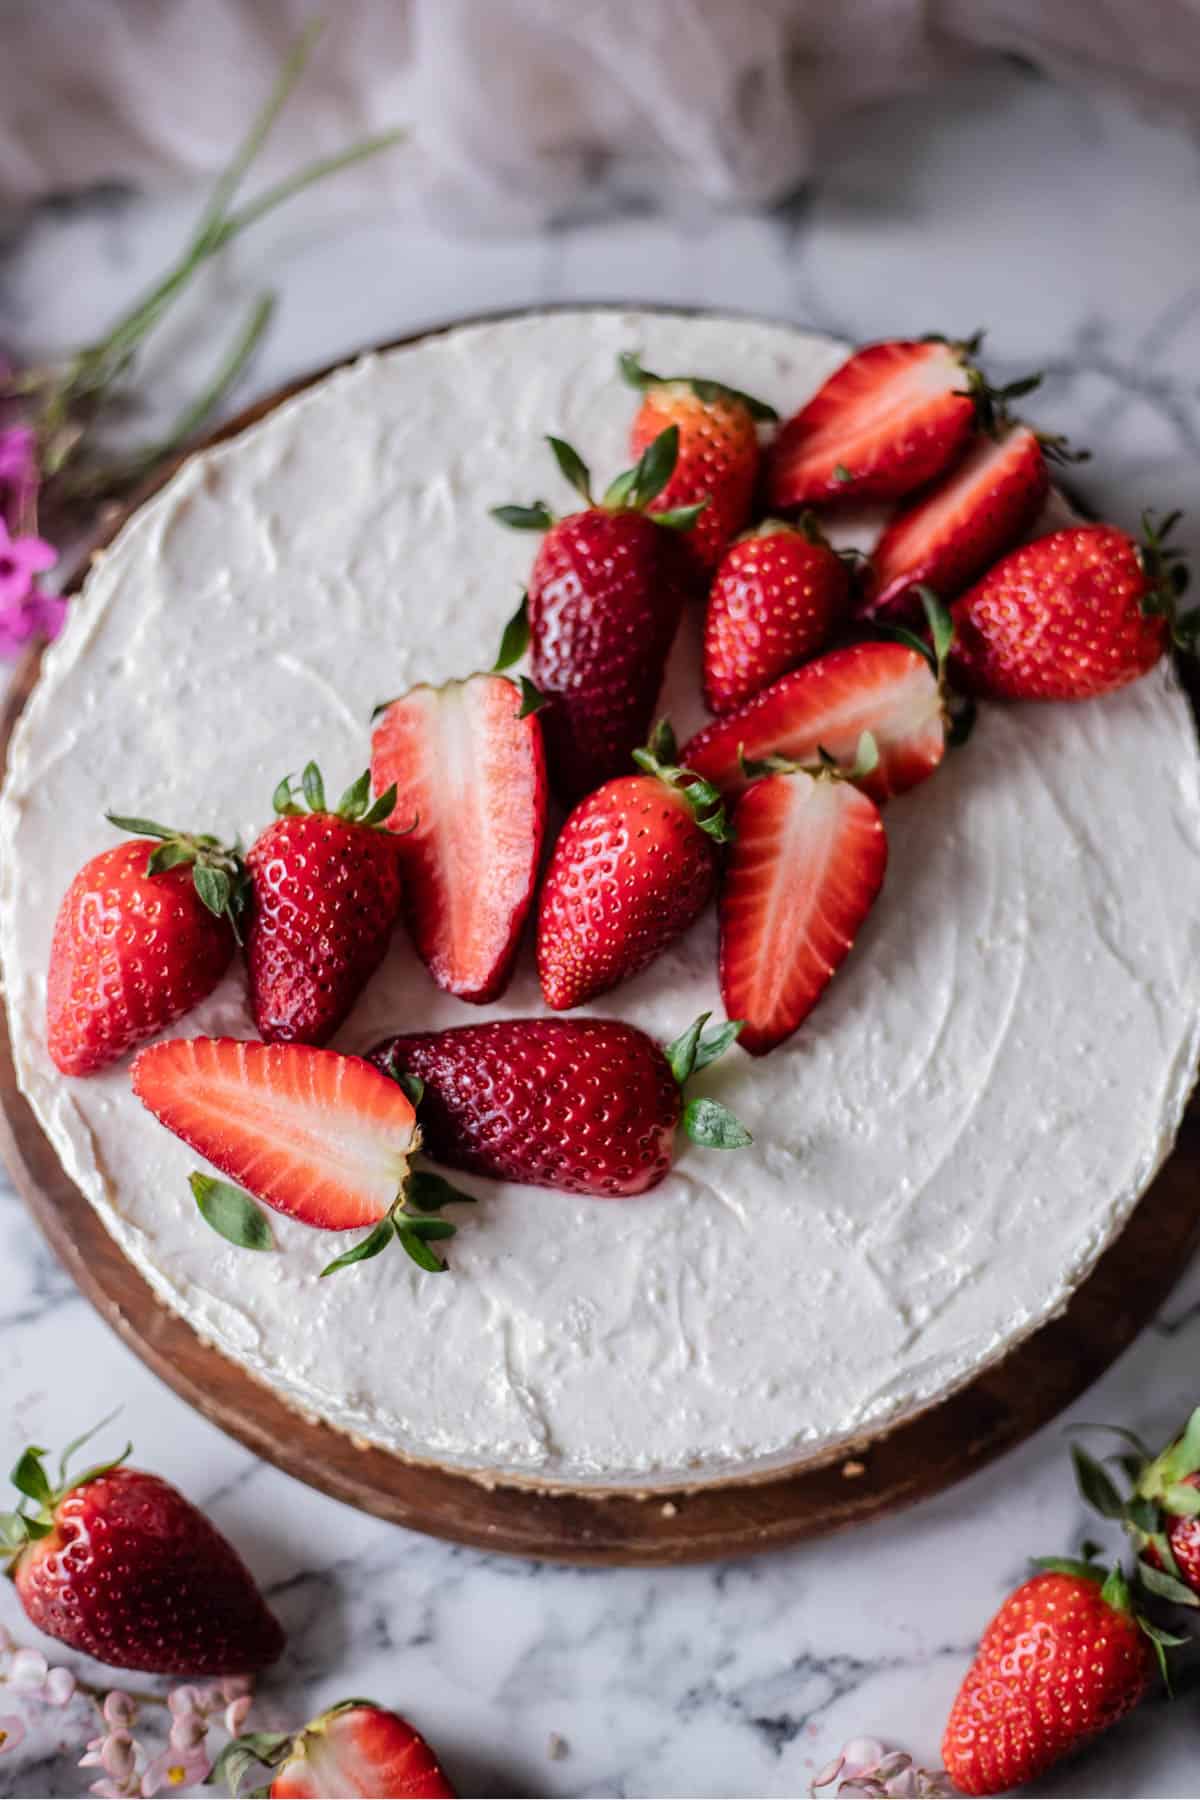
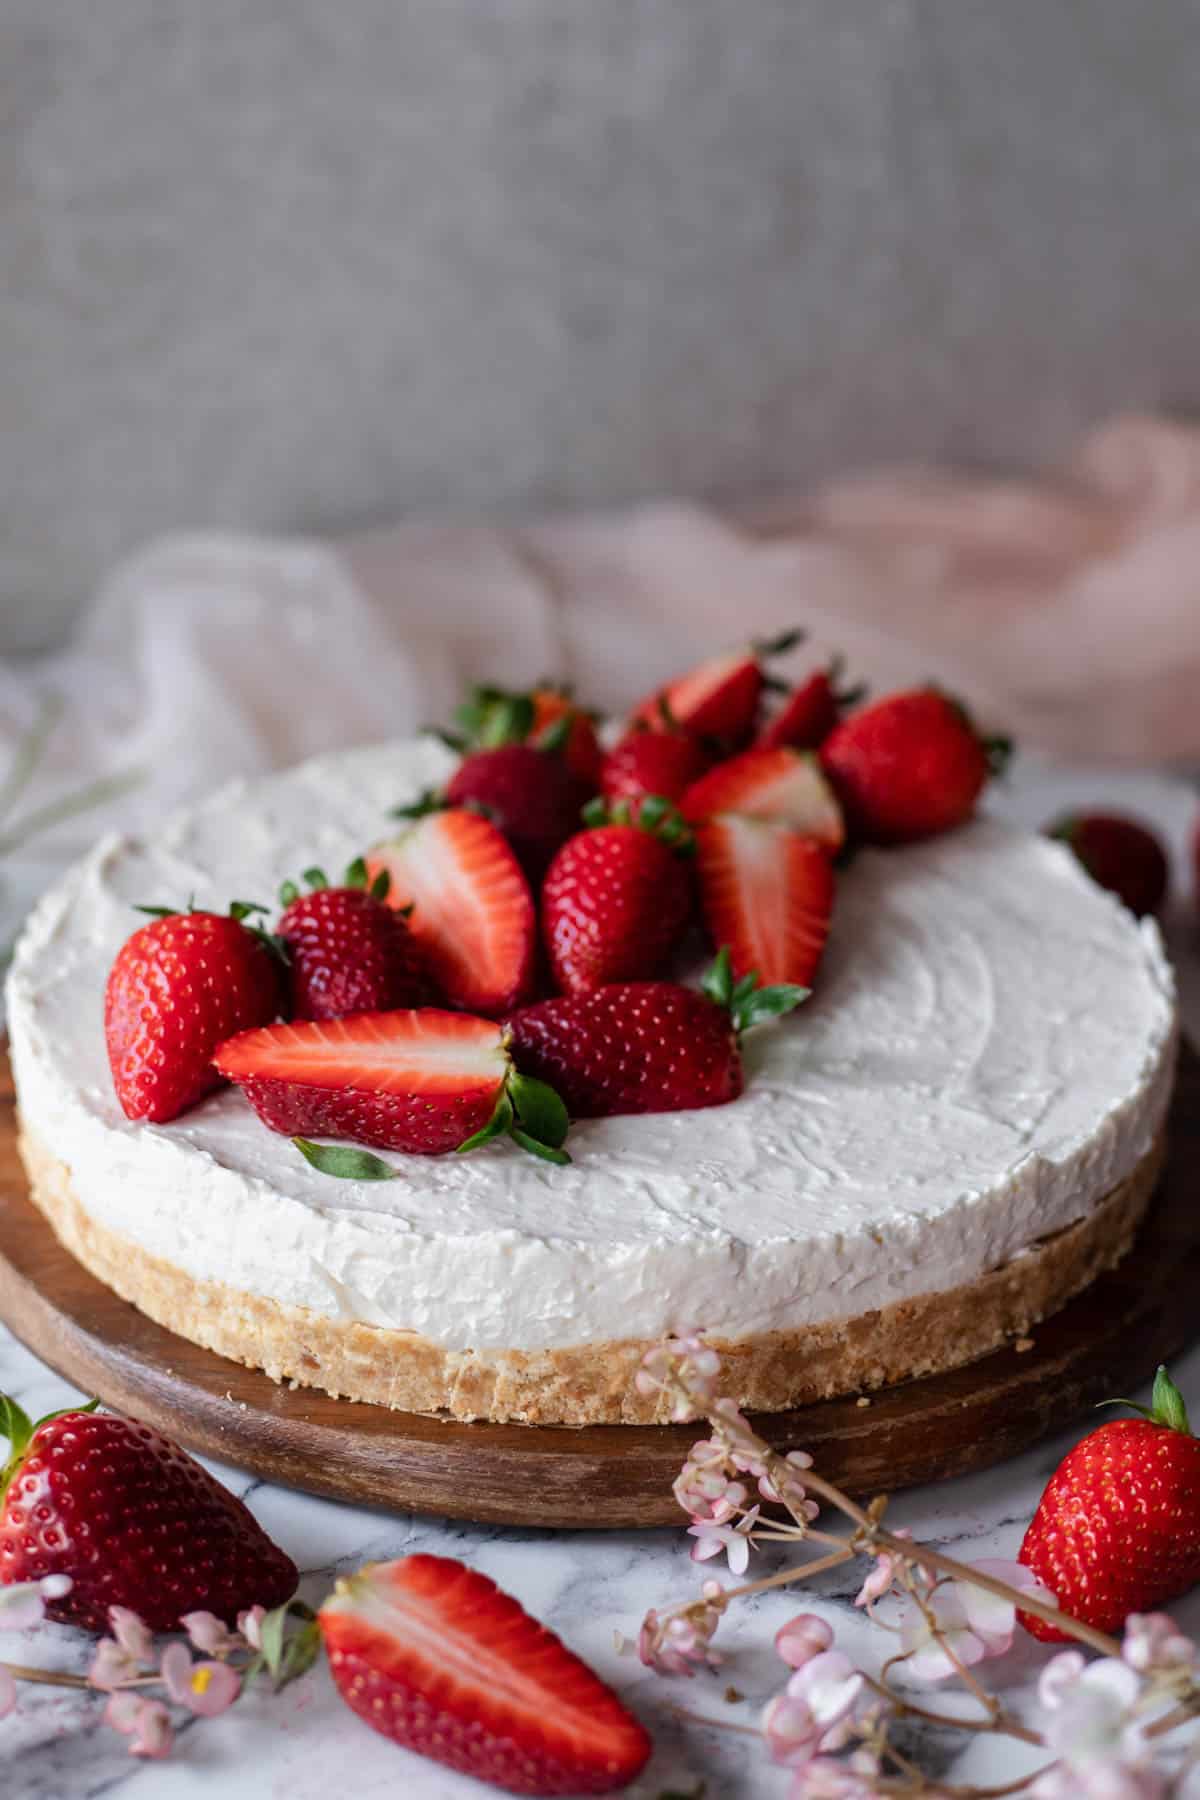
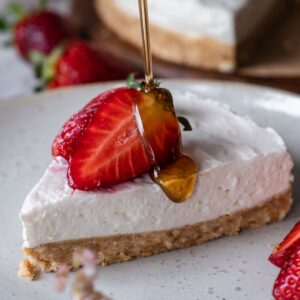
This Gluten-Free No-Bake Cheesecake is a lazy version of the classic cheesecake recipe. It is incredibly easy to make, refreshing, creamy, tangy, and perfectly sweetened. You can enjoy it on its own or with fresh strawberries and a drizzle of maple syrup.
If you are looking for a more traditional cheesecake recipe, you should check out this Gluten-Free New York Cheesecake.
Jump to:
🌟 Recipe Overview
- Easy to make. This cheesecake takes only 20 minutes to prepare.
- Option to make it dairy-free and vegan. With a few easy swaps, you can have a completely vegan and dairy-free cheesecake.
- This no-bake cheesecake is so rich and decadent.
- Prep ahead. This cheesecake is perfect to make ahead for holidays or parties as it needs to chill in the fridge for at least 5 hours.
📔 Ingredients & Substitutes
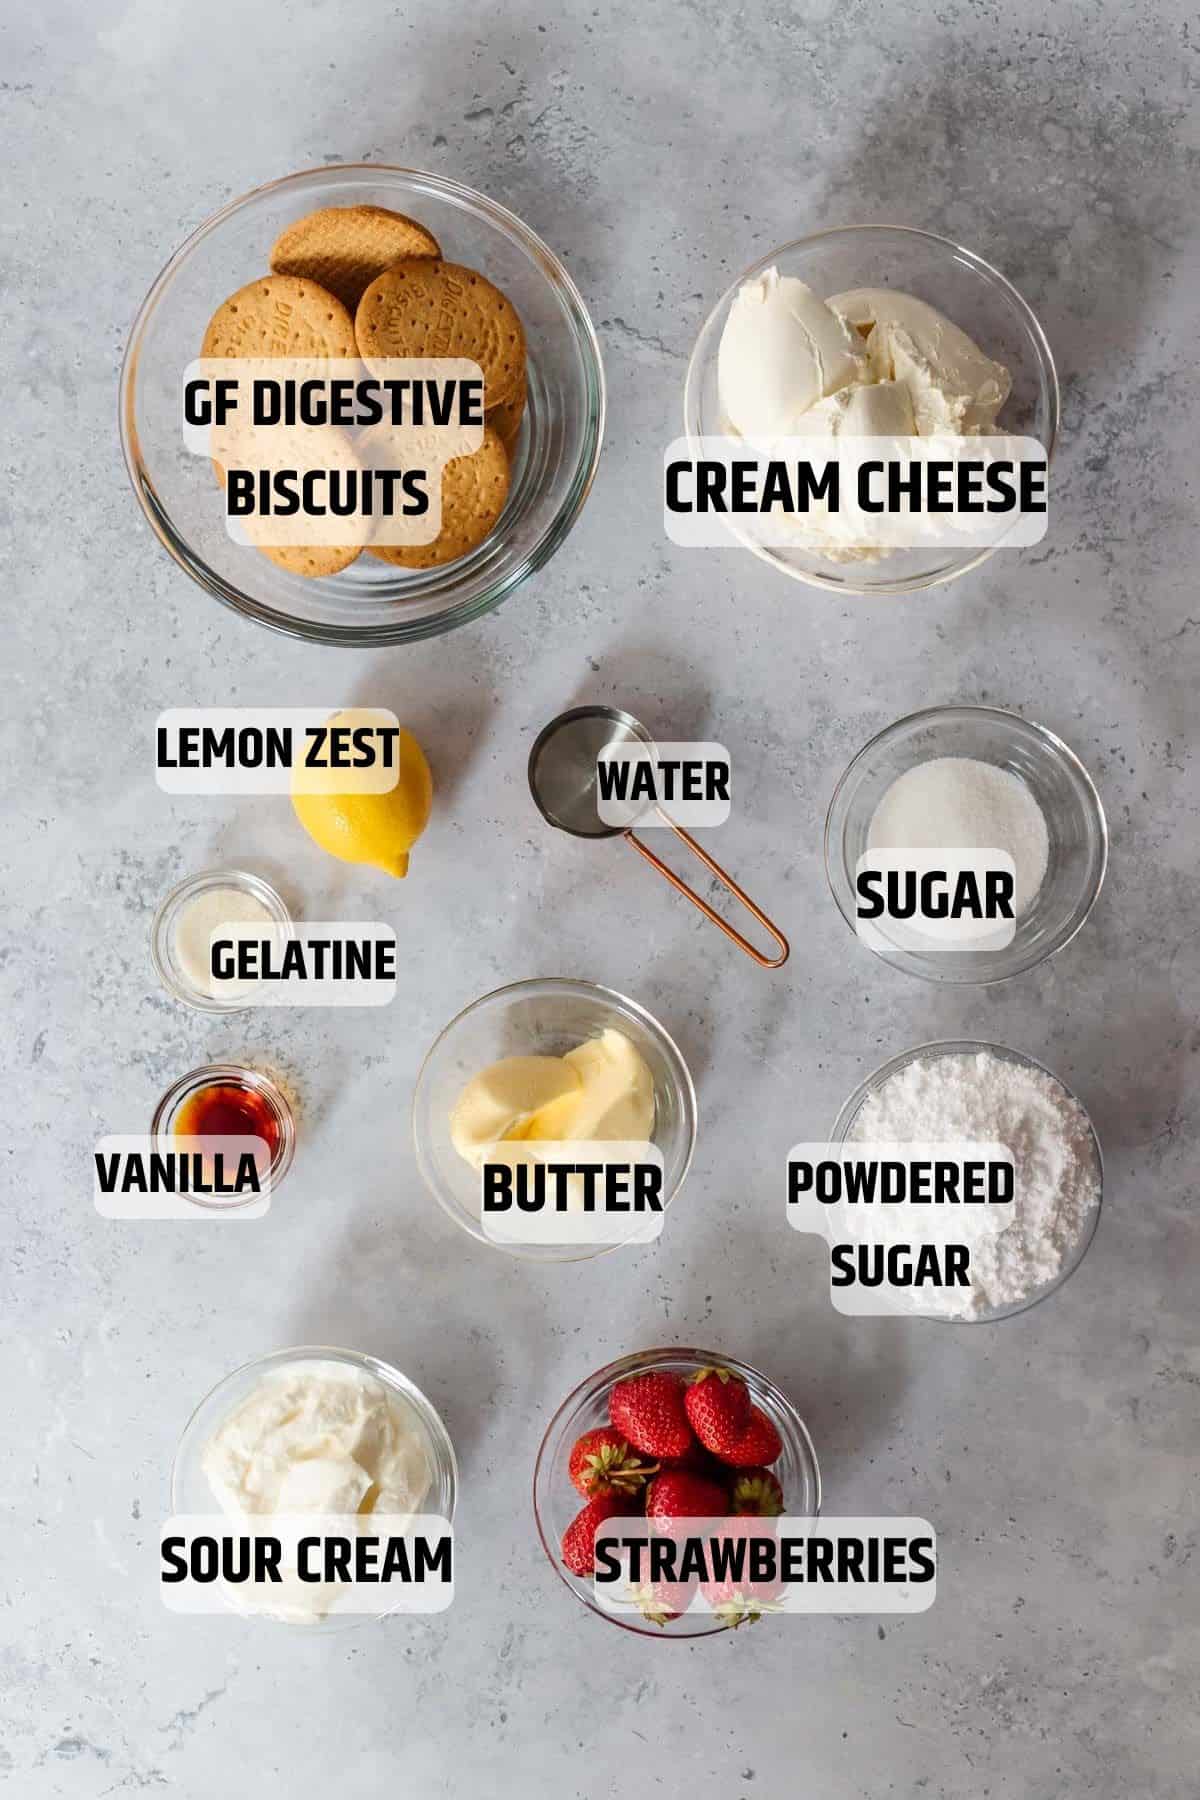
Gluten-Free Graham Crackers. They are required to make the crust. However, if you don't have Graham Crackers you can also use Digestive Biscuits, Shortbread biscuits, Crisp Cookies, Pretzels, or Ice Cream Cones.
Unsalted butter. If you want to make it dairy-free you can use a plant-based butter alternative.
Unflavored Powdered Gelatin. Make sure to measure the exact amount that is required. Because if you use less gelatine your cheesecake might not firm up. If you want to make it vegan, you can use agar-agar. Note that agar-agar is more potent than gelatine, so it is not a 1:1 substitute for gelatin. Use between ⅓ and ½ of the amount of gelatin called for.
Lukewarm water. It is important to use lukewarm water to dissolve the gelatine powder.
Cream Cheese. If you want to make it dairy-free or vegan, use plant-based cream cheese.
Sour Cream. Similarly to cream cheese, you can substitute it for a plant-based alternative
Vanilla Extract. For the best flavor, I recommend that you use pure vanilla extract rather than artificial vanilla flavoring.
Confectioners’ sugar. I have not tried making this with any other sweetener. If you decide to use maple or agave, you might need to slightly increase the amount of gelatine as the liquid sweetener can make the cheesecake runnier.
Lemon Zest. This is optional but highly recommended as it gives the cheesecake a fresh and zesty flavor.
Strawberries. Or any other berries go well for decoration.
🥣 How to make this recipe
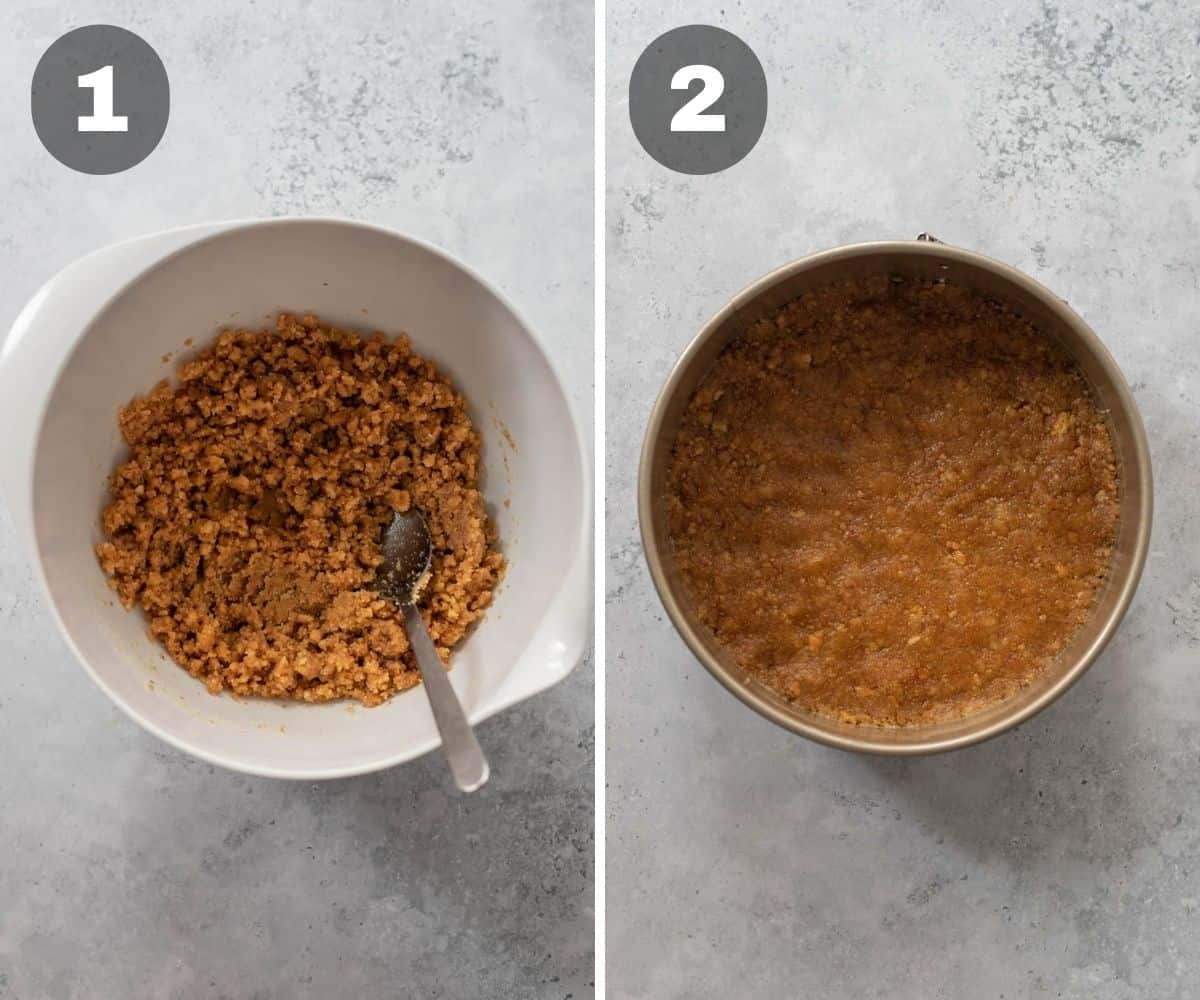
STEP 1: MAKE THE CRUST
Using a food processor, pulse the graham crackers into crumbs. In a medium-sized bowl, mix the cookie crumbs and melted butter until well combined.
Press the mixture into the bottom and up the sides of a greased 9-inch springform pan. Set the pan aside.
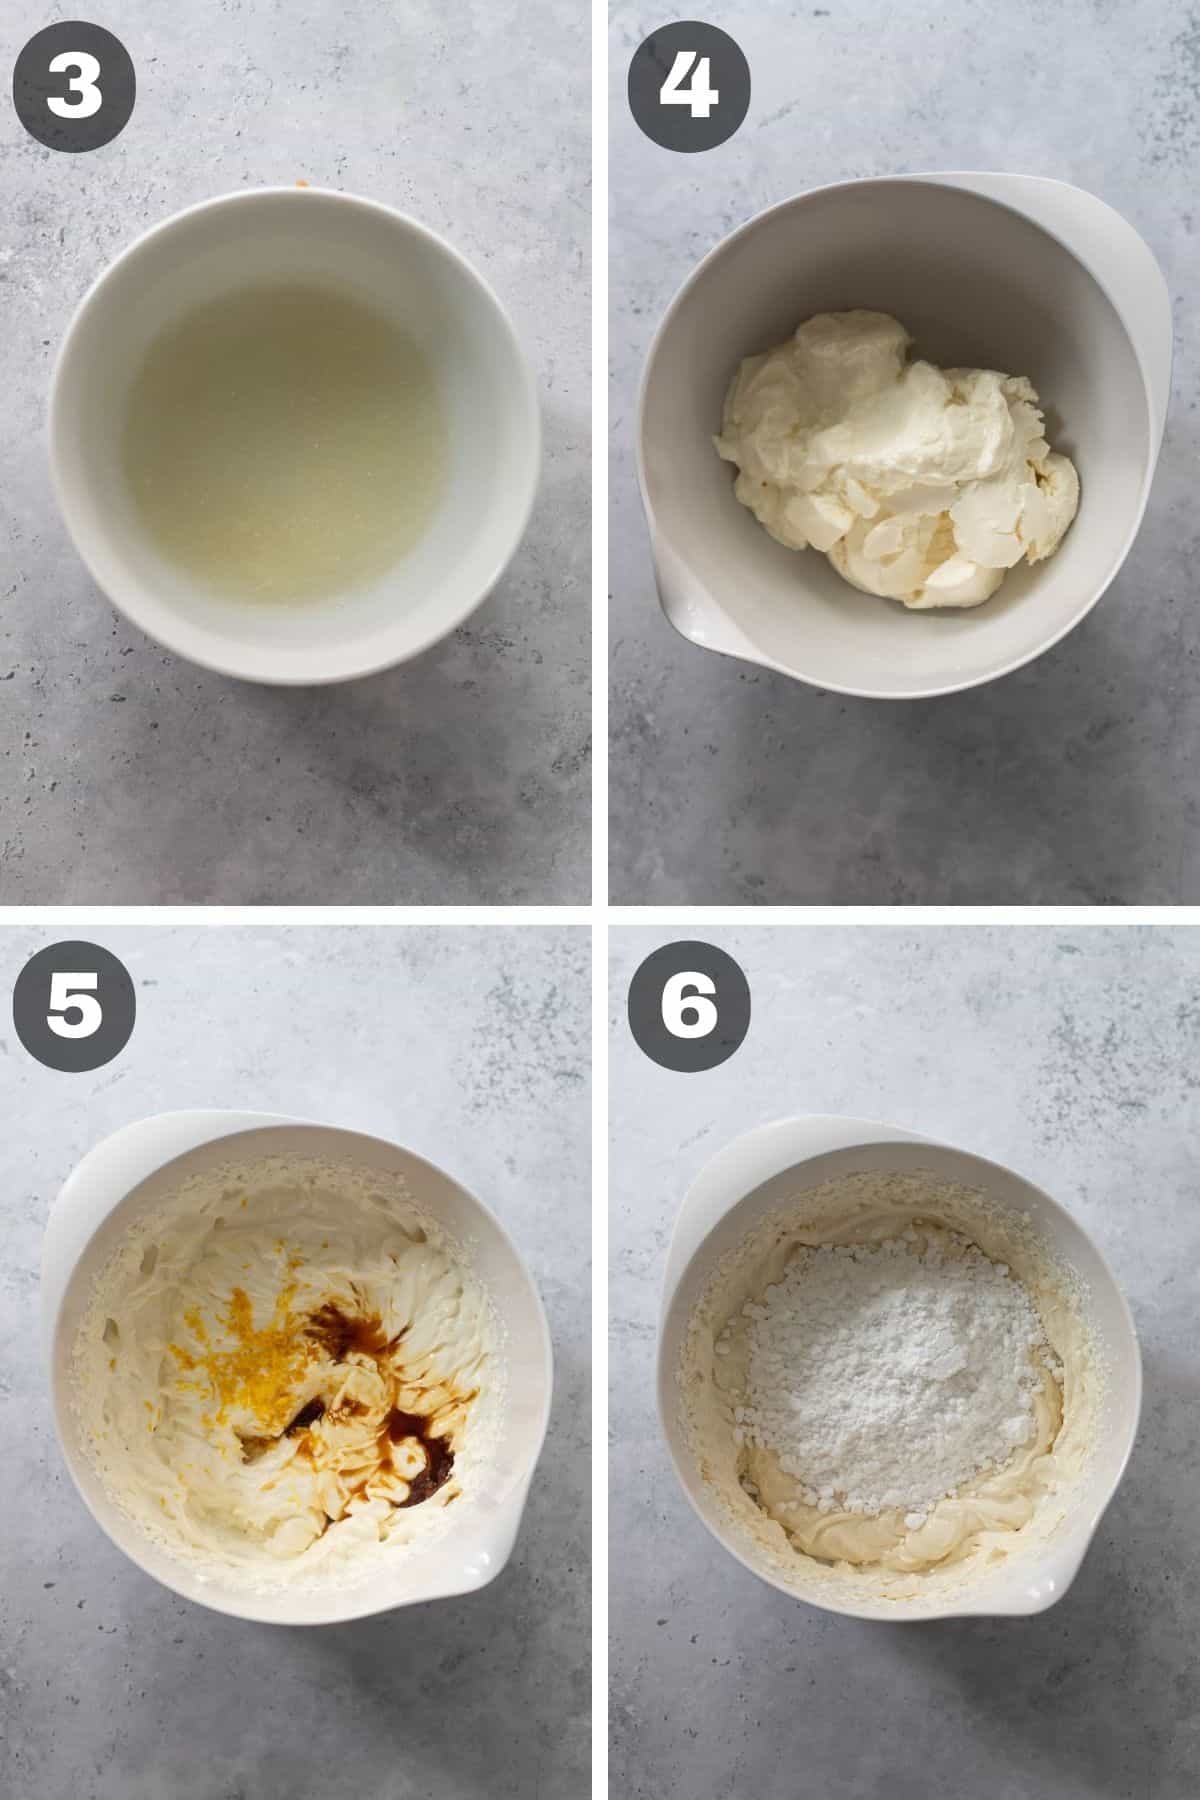
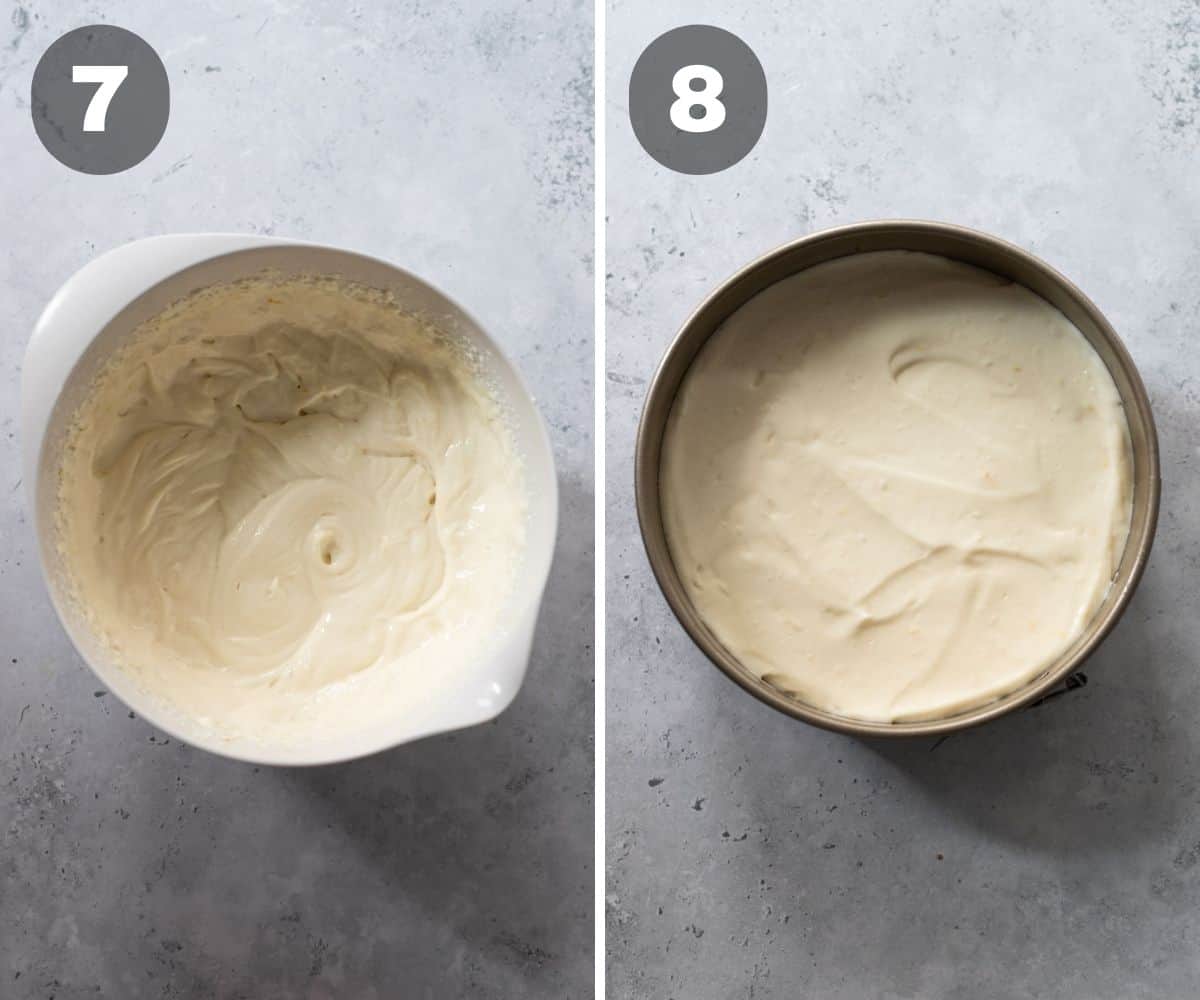
STEP 2: MAKE THE FILLING
In a small, heat-safe bowl, place the water and sprinkle the gelatin evenly on top. Mix to combine well, and allow the mixture to sit for a few minutes until the gelatin swells. Heat the mixture on low heat until it has just liquefied, but isn’t hot. Set the gelatin aside briefly. In a large bowl beat together cream cheese and sour cream until light and fluffy (about 2 minutes). While still mixing, slowly pour in the gelatin mixture, and continue to mix until smooth. Add vanilla extract and lemon zest and mix just until combined. Add the powdered sugar and beat until smooth. Pour the mixture into the prepared crust.
STEP 3: REFRIGERATE
Place the pan in the refrigerator for at least 5 hours or until set. Remove the pan from the refrigerator, and free the filling from the sides of the pan by running a butter knife carefully all around the sides of the spring form. Remove the sides of the pan, slice, and serve with strawberries and a drizzle of maple syrup.
📖 Storage instructions
Store this Gluten-Free No-Bake Cheesecake in the fridge in an airtight container for up to 3 days.
Freezing: Once the cheesecake has been set up properly in the fridge you can freeze it (or freeze the leftovers). Wrap the cheesecake well in plastic wrap, and then in tin foil and freeze for up to 3 months. Thaw in the fridge before serving.
👩🏻🍳 Expert Tips
- Make sure to finely grind the cookies in a food processor or if you don't have a food processor you can do it using a rolling pin. To get a good crust it is important that there are no big cookie pieces left.
- Go for full-fat ingredients. Using full-fat cream cheese and sour cream will give you that extra creamy and velvety texture. Unless it is required to use low fat for dietary requirements, I highly recommend that you use full-fat cream cheese and sour cream.
- Use room temperature ingredients. Using room temperature cream cheese and sour cream is absolutely crucial. Room temp ingredients blend up smoothly so you don’t have a lumpy cake.
- Use an electric mixer such as this one. Mixing it by hand won't get a cheesecake batter as smooth as it needs to be.
- Refrigerate. You need to let this cheesecake firm up in the refrigerator for at least 5 hours before cutting.
💬 FAQ
9-inch springform pan, such as this one.
Yes, simply use dairy-free biscuits, plant-based cream cheese and sour cream, and agar-agar instead of gelatine for making it vegan.
You can keep it in the refrigerator for up to 3 days.
Did you make this? Tell me about it! Leave a ⭐ REVIEW and COMMENT below!
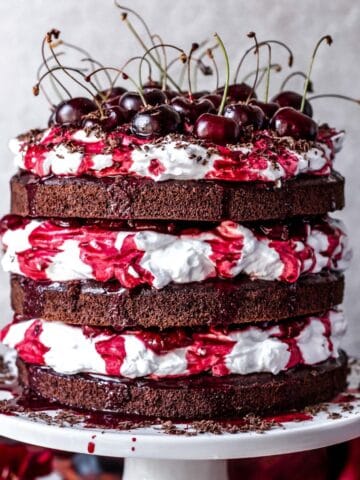
🍰 More GLUTEN-FREE DESSERTS
Recipe
Gluten-Free No-Bake Cheesecake
Equipment
- 9-inch spring form
Ingredients
For the crust
- 7 oz gluten-free graham crackers
- 3.5 oz (¼ cup + 3 tbsp) unsalted butter
- ¼ cup sugar
For the filling
- ¼ cup lukewarm water
- 2 tsp (6g) unflavoured powdered gelatine
- 2 cups cream cheese
- 1 cup sour cream
- 1½ teaspoon pure vanilla extract
- 1 ½ cups confectioners sugar
- zest from 1 lemon
For Decoration
- fresh berries
Instructions
To Make the Crust:
- Crush the cookies in food processor or using a rolling pin.
- In a medium-size bowl, mix the cookie crumbs and melted butter until well combined. Press the mixture into the bottom and up the sides of a greased 9-inch springform pan. Set the pan aside.
To Make the Filling:
- In a small, heat-safe bowl, place the water and sprinkle the gelatin evenly on top. Mix to combine well, and allow the mixture to sit for a few minutes until the gelatin swells.
- Heat the mixture on low heat until it has just liquefied, but isn’t hot. Set the gelatin aside briefly.
- In a large bowl beat together cream cheese and sour cream until light and fluffy (about 2 minutes).
- While still mixing, slowly pour in the gelatin mixture, and continue to mix until smooth. Add vanilla extract and lemon zest and mix just until combined. Add the powdered sugar and beat until smooth. Pour the mixture into the prepared crust.
- Place the pan in the refrigerator for at least 5 hours or until set.
- Remove the pan from the refrigerator, and free the filling from the sides of the pan by running a butter knife carefully all around the sides of the spring form.
- Remove the sides of the pan, slice, and serve with strawberries and a drizzle of maple syrup.
Notes
- Make sure to finely grind the cookies in a food processor or if you don't have a food processor you can do it using a rolling pin. To get a good crust it is important that there are no big cookie pieces left.
- Go for full-fat ingredients. Using full-fat cream cheese and sour cream will give you that extra creamy and velvety texture. Unless it is required to use low fat for dietary requirements, I highly recommend that you use full-fat cream cheese and sour cream.
- Use room temperature ingredients. Using room temperature cream cheese and sour cream is absolutely crucial. Room temp ingredients blend up smoothly so you don’t have a lumpy cake.
- Use an electric mixer such as this one. Mixing it by hand won't get a cheesecake batter as smooth as it needs to be.
- Refrigerate. You need to let this cheesecake firm up in the refrigerator for at least 5 hours before cutting.
Leave a Comment