
Growing up doughnuts were my favorite treat! I remember, I always wanted to go to the park because there was a small shop that had freshly made doughnuts! And is there anything better than fresh doughnuts? I don't think so! 🙂 So when I cracked the code and made these gluten-free yeast-raised doughnuts, I was over the moon.
Gluten-Free Yeast-Raised Doughnuts Recipe
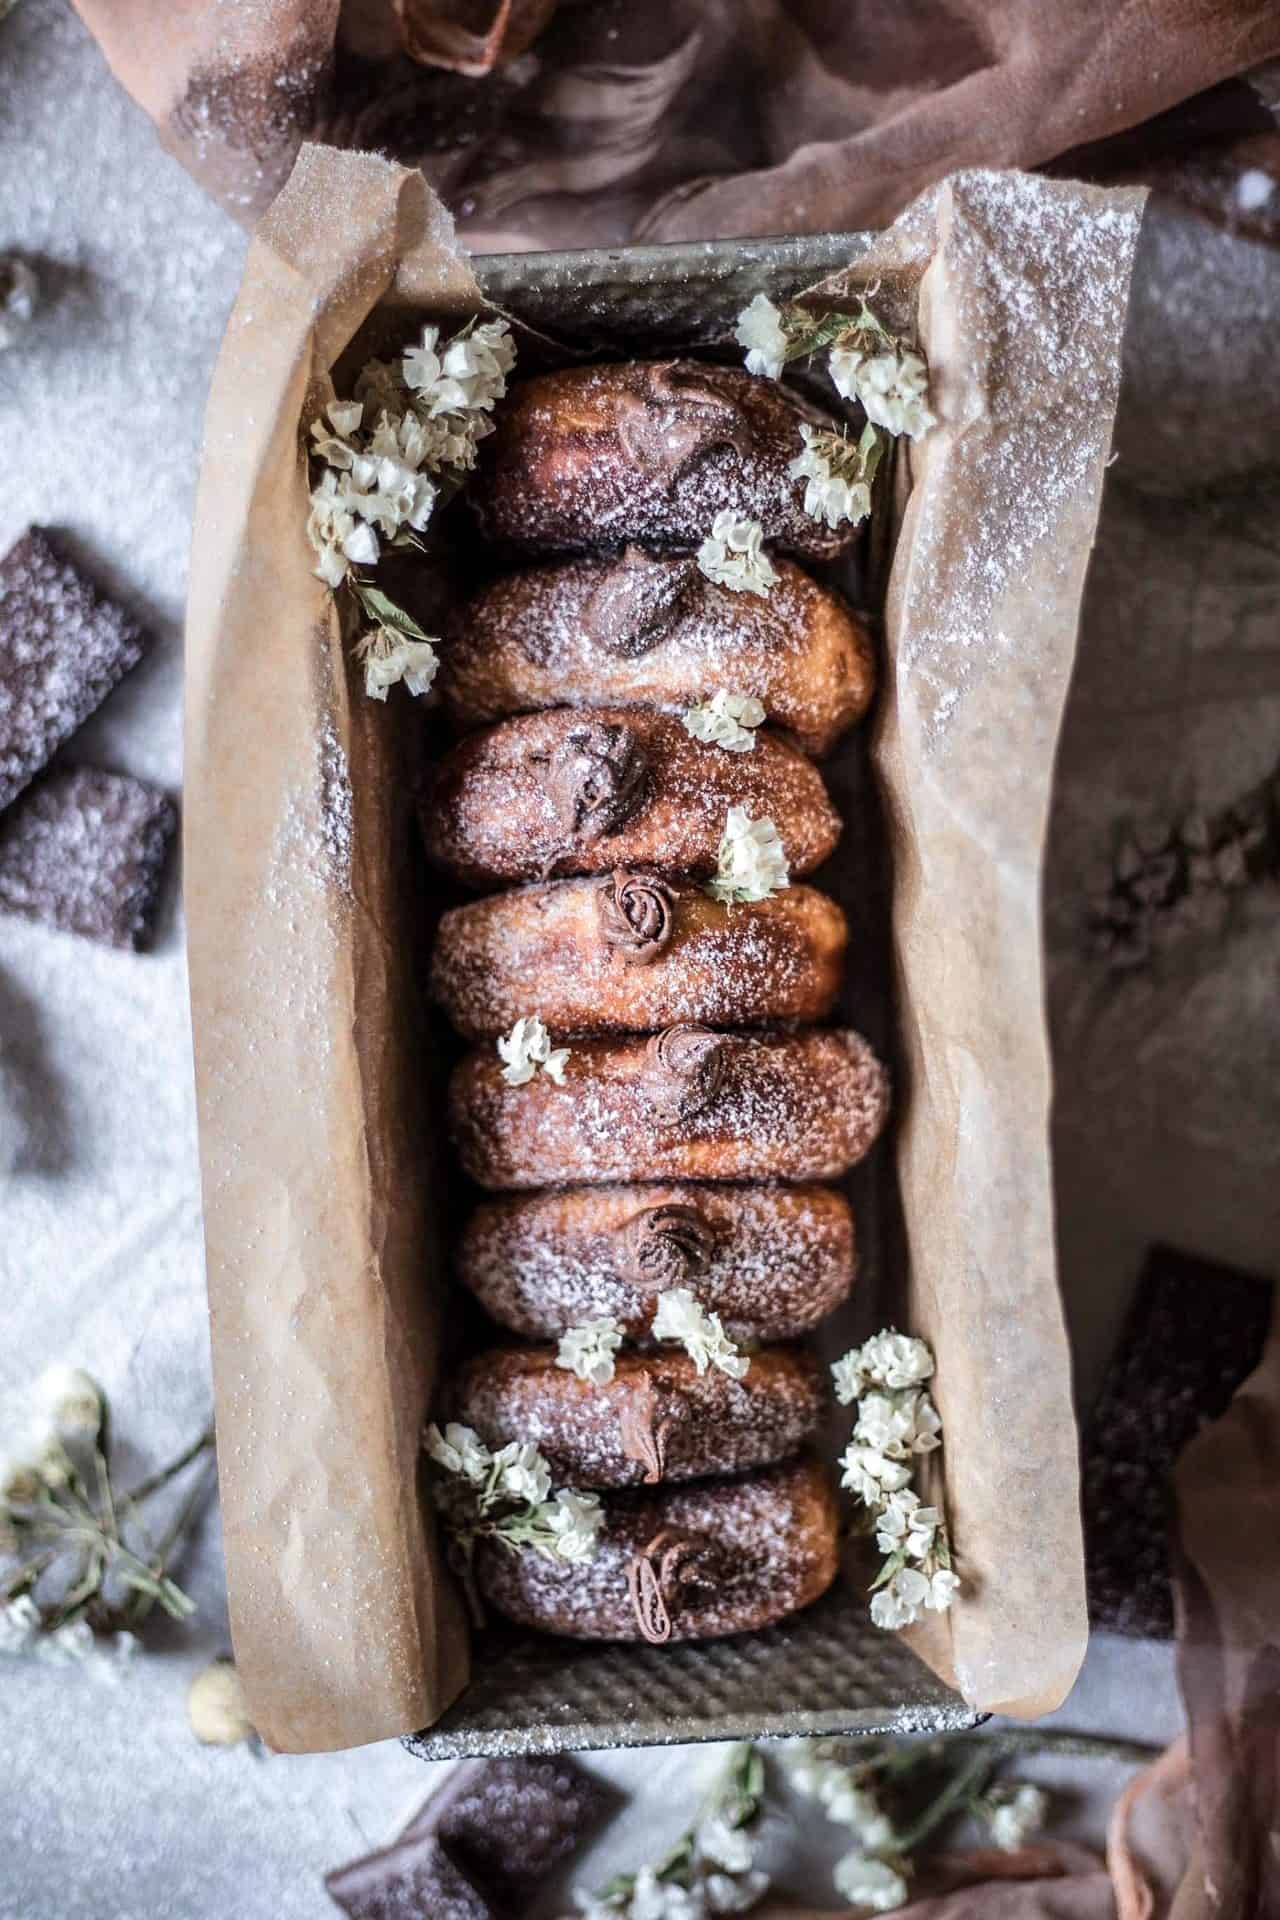
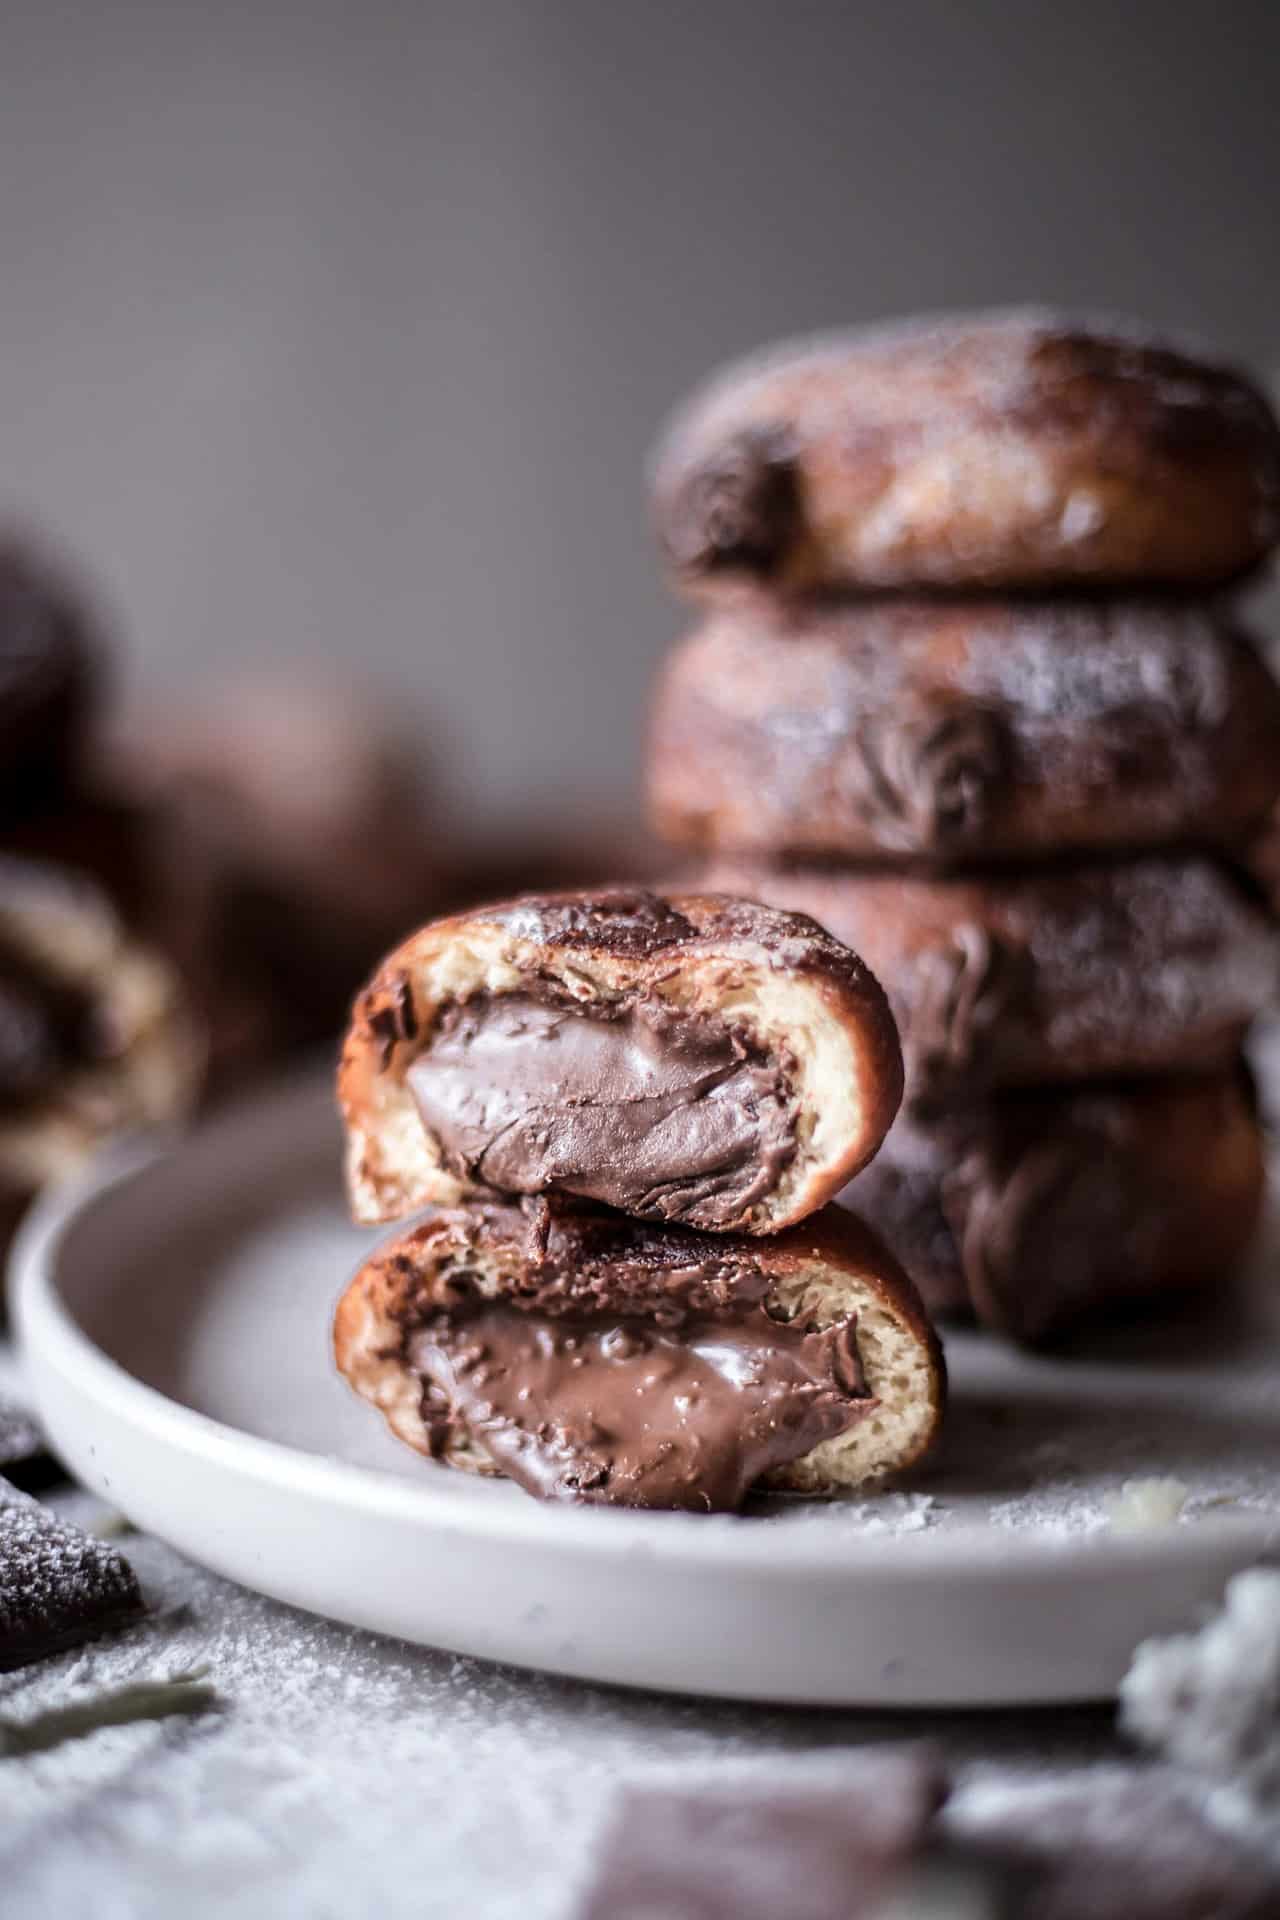
These gluten-free yeast-raised doughnuts are pillowy soft, fluffy, tender, perfectly sweetened and so easy to make! They are super delicious to be eaten on their own or with a little powder sugar. I like filling them with chocolate cream, just because I'm such a chocoholic! But if you want them less sweet or if you make them for breakfast, they are perfect on their own!

how to make these gluten-free yeast-raised doughnuts?
If you ever thought that gluten-free doughnuts are hard to make, let me assure you. THEY MOST CERTAINLY ARE NOT! In fact, they are super simple and easy to make, you’d be surprised! They take longer to make only because you need to wait for them to rise. Otherwise, there are only 4 simple steps. Making the dough, shaping the doughnuts, frying them and filling them. And voila the doughnuts are done!
For the detailed step-by-step scroll at the end of this page.
Baked, Deep Fried or Air-Fried?
You can choose any of these methods. However, the old-fashioned way is to deep fry them. That's also the one I like the most, as they taste like the real doughnuts I remember from my childhood. However, baked or air-fried is healthier as it contains less fat. If you'd like baked donuts I'd recommend a cake donut recipe like my pumpkin donuts. Because when you bake yeast-raised donuts they tend to taste more like bagels.
what flour to use to make them?
I like to use my universal homemade gluten-free flour blend. Which is a mix of the following flours :
3. Sweet Rice Flour (Glutinous Rice aka Sticky Rice)
4. Tapioca Flour (tapioca starch is the same as tapioca flour)
5. Xanthan Gum
If you can’t make that one, you can try with any gluten-free flour mix (just make sure it contains xanthan gum because that helps in binding the dough). The final result using different flour mix might vary slightly, depending on what flours your mix contains.
To find the recipe for my gluten-free flour mix click, HERE.
* fodmap tip:
*To make sure that your flour mix is fodmap friendly I recommend that you make your own gluten-free flour mix, I always make this one. Or always read the ingredients of the store-bought gluten-free flour mixes. Make sure your mix doesn’t contain soy flour, chickpea/besan/gram/garbanzo bean flour, lentil flour, coconut flour, amaranth flour, or lupin flour.
*As a general rule always read the labels of the ingredients that you use as there can be sneaky FODMAP’s in any product. To educate yourself on which foods are high in FODMAP’s I’d strongly recommend downloading Monash Unversity FODMAP Diet App
Recipe

Gluten Free Yeast Raised Doughnuts
Ingredients
- 350 g gluten-free flour
- 1 teaspoon salt
- ¼ teaspoon cream of tartar
- ¼ teaspoon baking soda
- 50 g sugar (¼ cup)
- 3 teaspoon instant yeast
- 1 teaspoon apple cider vinegar
- 2 large eggs
- 240 ml lactose-free milk (full-fat) (1 cup)
- 60 g unsalted butter (1 /4 cup) melted and cooled
- light cooking oil for frying.
Instructions
- In the bowl of your stand mixer, whisk together the flour, salt, cream of tartar, baking soda, sugar, and instant yeast. Fit the mixer with the paddle attachment and add the vinegar, eggs, lactose-free milk and melted butter, and mix to combine. Mix on low speed until the liquid is absorbed by the dry ingredients, then turn the mixer speed to high and mix for about 3 minutes or until everything is very well combined. The dough will be slightly wet.
- Place the donut dough .in a lightly greased bowl or container, cover it and place it in a warm spot to rise for about 1 hour or until double in size. (you can keep the dough for up to 2 days in the refrigerator).
- When you’re ready to work with the dough, turn it out onto a lightly floured surface. Line rimmed baking sheets with unbleached parchment paper and set them aside. Sprinkle the dough lightly with some extra flour. Using a rolling pin, lightly roll it out to about 1inch (2.5cm) tick.
- Using a round cookie cutter or a jar, cut the doughnuts rounds and place them on the prepared baking sheet, leaving space apart. Cover the baking sheets with oiled plastic wrap, and place in a warm spot. Let them rise for about 40min.
Deep-Frying Instructions.
- In a large, heavy-bottom pot heat at least 2 inches of oil to about 350 degrees F (170 degrees C).
- Fry the donuts in small batches, for about half a minute per side, or until golden brown. Remove with a slotted spoon and place them over kitchen paper to drain.
- Toss the donuts in sugar and cinnamon or just dust them with powdered sugar.
Air-Fryer Instructions.
- Spray the bottom of the Air Fryer basket with non-aerosol cooking oil spray. Place as many donuts as will fit comfortably in the basket of your Air Fryer in a single layer, without crowding. Spray or brush the tops of the donuts generously with cooking oil, and place in the Air Fryer. Set the machine to fry at 380°F for 12 minutes. Let them cook for about 6 minutes. Remove the basket carefully from the fryer and, using heat-safe tongs, flip each of the donuts over. Spray or brush again generously with cooking oil, and return to the fryer. They are done when they are lightly brown all over. Remove the donuts and place on a wire rack to cool. Repeat with the remaining donuts.
Baking Instructions
- Heat the oven to 350 degrees F (175 degrees C). Line a baking tray with a baking paper, place the doughnuts and brush them with melted butter.
- Bake for about 15min or until risen and golden brown. Rotate tray during baking if needed to get color all over.
Melissa says
Curious about keeping them in the fridge. Does this occur after the initial rise and can the dough stay in the same vessel? Also, I have KAF GF flour. Do you think that would work?
Gluten Free Stories says
Hi Melissa. You can store the dough in the refrigerator after the dough is kneaded. Just place in a lightly oiled, large mixing bowl. Cover tightly with plastic wrap and place it in the fridge. Before you want to use it leave it at room temperature. The final rising will be longer than indicated in the recipe because the dough will still be cool. Yes, the dough can be in the same vessel. And you can use any gluten-free flour just make sure it contains xanthan or guar gum.
I hope that helps, and let me know if you have any other questions.
Susanne says
Hello! Looks so yummy! I am going to make these and want my gluten free, milk free (can't have dairy milk but can have butter, eggs, etc.) to be able to eat them. Trying to find the best milk alternative for full fat milk. Also, I do not have a kitchen scale. Can you tell me how much flour that equals? Thanks!
Gluten Free Stories says
Hi Susanne, you can use any dairy-free milk. The ones that I usually use are rice milk or almond milk. 350g flour equals 2 3/4 cups Here you can find conversions for many ingredients: https://www.allrecipes.com/article/cup-to-gram-conversions/. All of my newer recipes are given in both grams and cups. This is an older recipe, I'm currently working on converting all of the recipes on my website, I'm sorry for the inconvenience. Let me know if you need any other help and I hope that you enjoy the recipe!