These Gluten-free Garlic knots are easy to fall in love with, they are doused with garlicky, herby butter. They can easily accompany any dish that you normally serve with garlic bread.
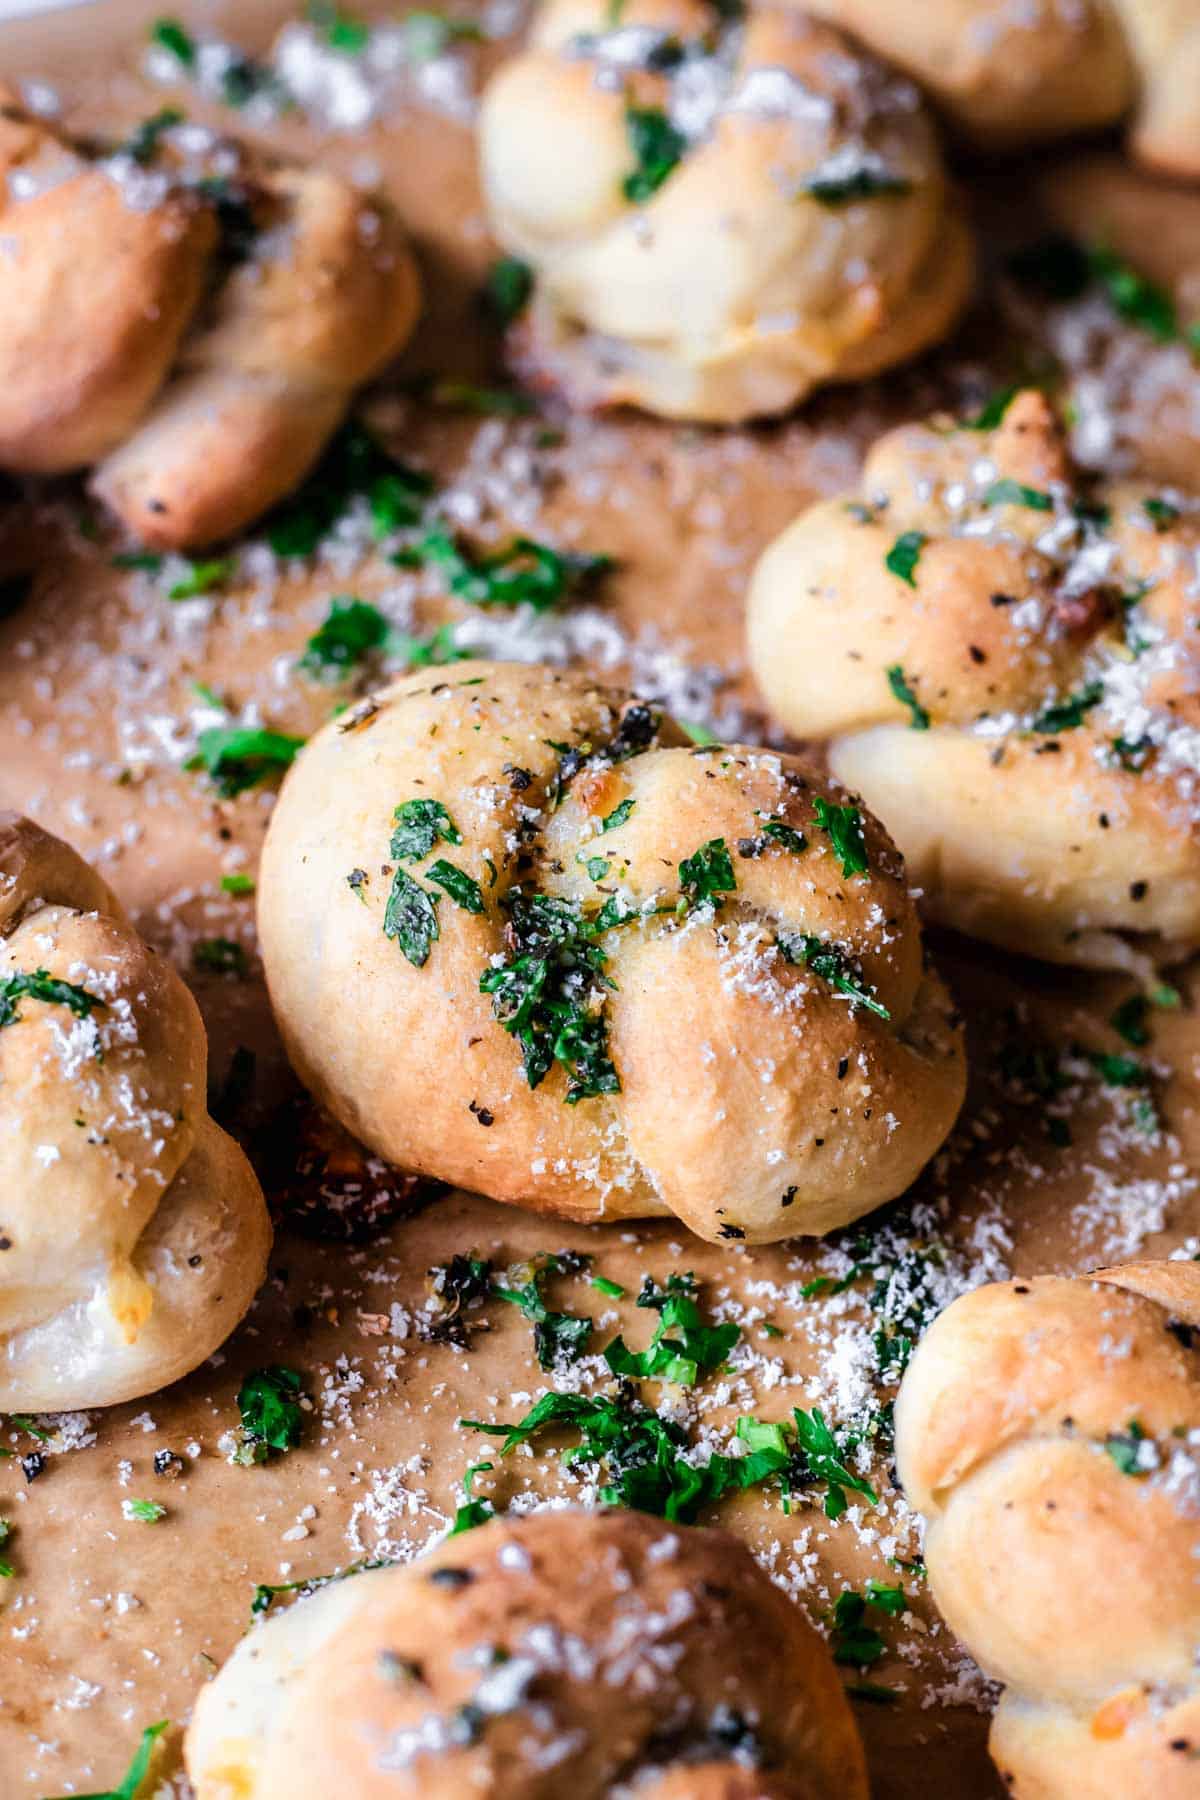
Bite-sized morsels of melt-in-your-mouth dough combined with salty garlic and herbs create the perfect complement to any meal. After I enjoyed this Gluten-free garlic bread I immediately thought of making gluten-free garlic knots and they were a pleaser. This recipe pairs perfectly with my Gluten-free Tomato Soup and is a perfect side for this Gluten-free Italian Pasta Salad. If for some reason you have leftover dough, you can make my Gluten-free Pizza Rolls for a variety of finger foods and sides.
Jump to:
⭐ Why this recipe works
- Soft and fluffy: These homemade garlic knots are soft and buttery, when you pull them apart you can actually see the fluffiness.
- Freezes very well: These gluten-free garlic knot bread will stay in the freezer for up to 3 months.
- Easy: It's easy ingredients and you can even use your leftover gluten-free pizza dough to make this recipe.
🥘 Ingredients & Substitutes
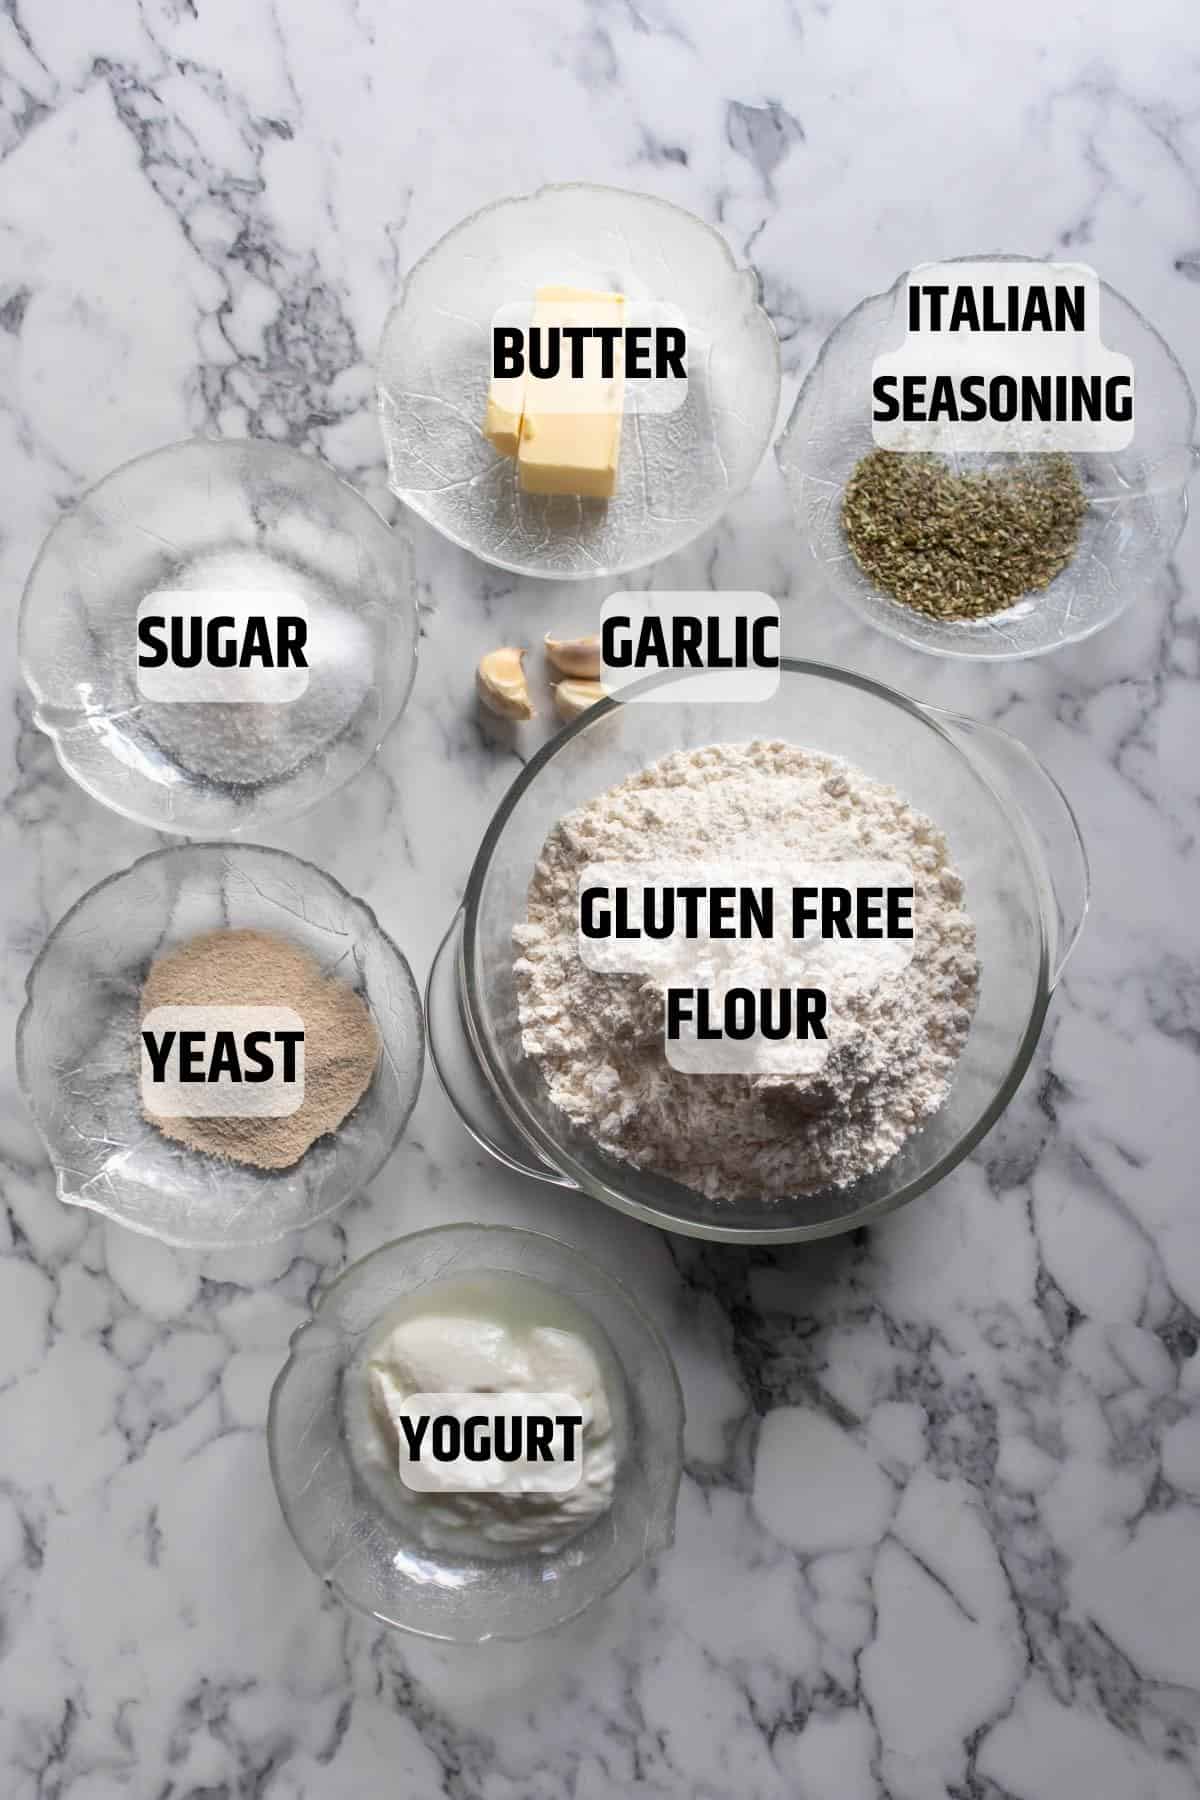
Detailed measurements are in the recipe card at the bottom of this post.
- Gluten-free flour: I recommend using Better Batter GF multipurpose Flour or Cup4Cup GF multipurpose flour. If you are from Europe you can use Schar Mix B. If you can’t find any of these flour mixes you can make my gluten-free flour mix or use any gluten-free flour blend that contains xanthin gum.
- Granulated sugar: Brown sugar or white sugar, either one will be ok in this recipe.
- Instant Yeast: This is our leavening agent and will help the dough rise and give the garlic knots a fluffy texture.
- Greek yogurt: This will add fat and moisture to the garlic knots. You are welcome to substitute with dairy-free alternatives.
- Butter: For dairy-free vegan versions you can substitute the butter for dairy-free vegan butter. You can use olive oil or vegetable oil such as canola oil instead.
- Warm water: It is important to note that hot water will kill the yeast so the recommended temperature should not exceed 100 F/38 C on a digital thermometer or manually mix 300ml of boiling water with 600ml of cold water then use only the amount required in the recipe.
- Garlic cloves: Finely minced garlic for the garlic butter, you can use store-bought minced garlic if you wish.
- Italian Seasoning & Salt
Optional toppings
- Parmesan cheese: For a cheesy flavor finish them off with a sprinkle of grated parmesan cheese.
- Fresh parsley: Garnish your garlic knots with chopped fresh parsley.
🔪 Instructions
Step 1: Make the gluten-free garlic knots dough
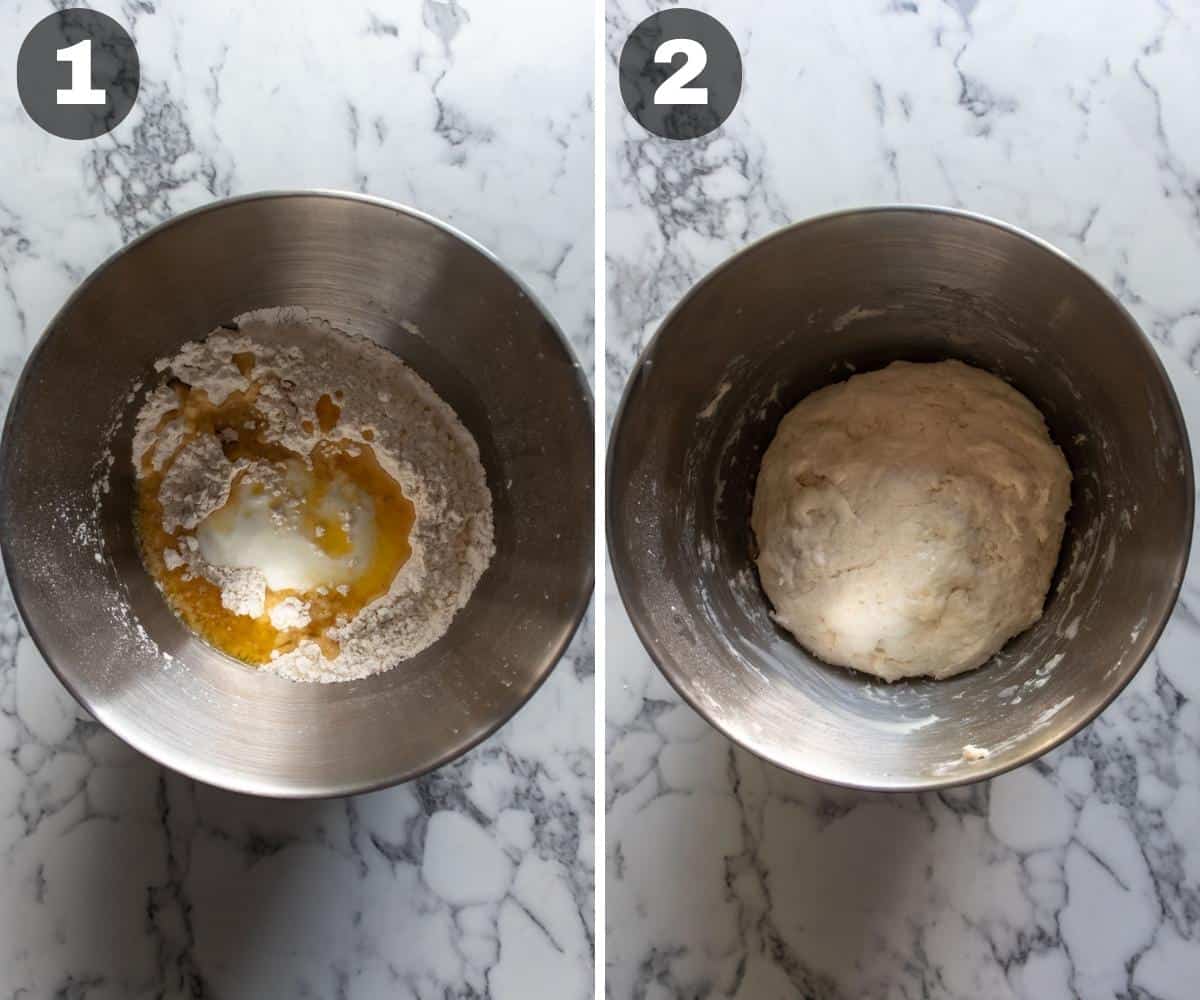
In a medium bowl mix your dry ingredients, flour, salt, sugar, and yeast. Next add the wet ingredients, yogurt, melted butter, and water. Mix all ingredients with your hands or with a stand mixer fitted with the paddle attachment mix on medium speed for about 3 minutes. The dough should be a little bit sticky. Cover the dough and let it rise in a warm spot for 1 hour.
Step 2: Make the garlic butter
In a saucepan on medium heat, melt your butter then add minced garlic and Italian seasoning. Remove from heat when the garlic is lightly brown and fragrant.
Step 3: Prepare the dough for shaping
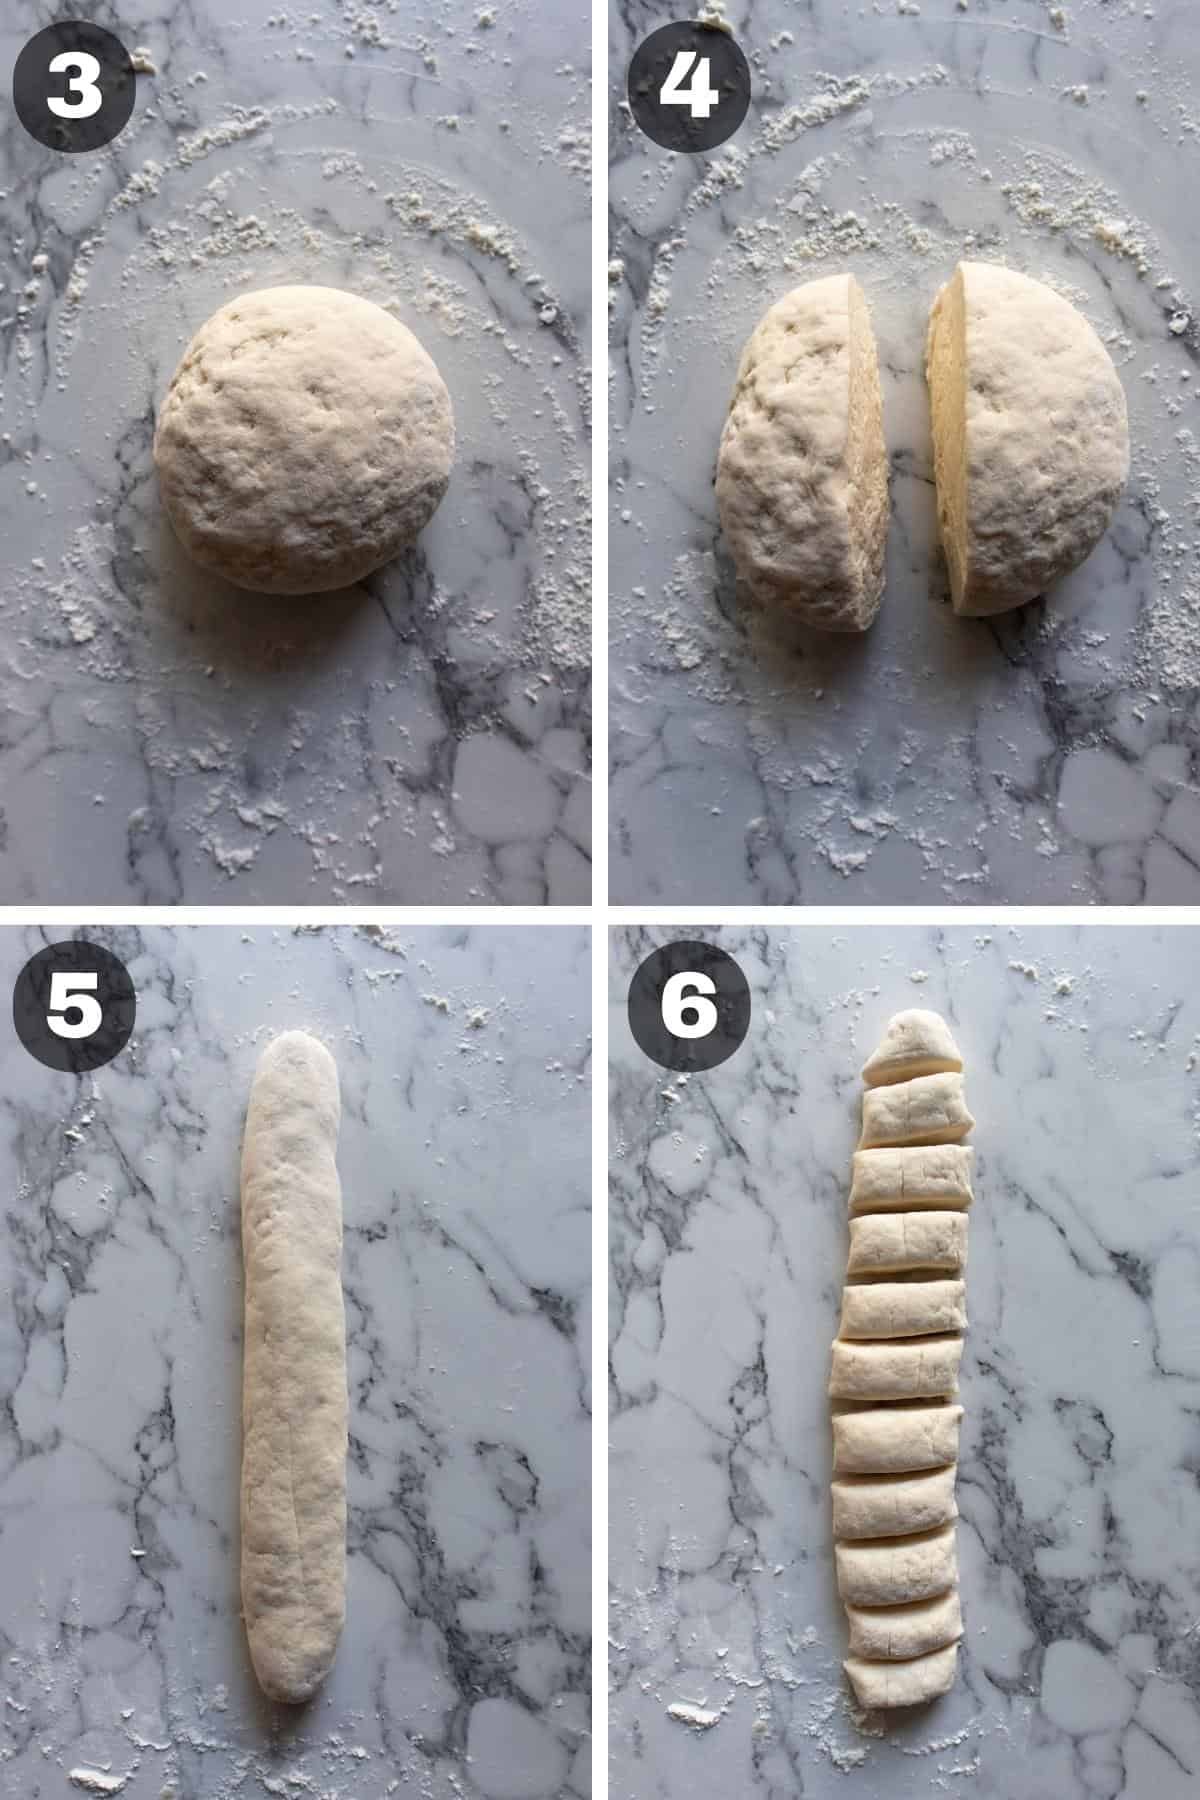
When the dough is ready, part it into two parts and shape each part into a log. Using a sharp knife cut the log into 11 1-inch stripes.
Step 4: Shape the garlic knots
Roll each strip into ropes. Tie each into knots. You can tuck the two ends of the knots underneath the knot or leave them out.
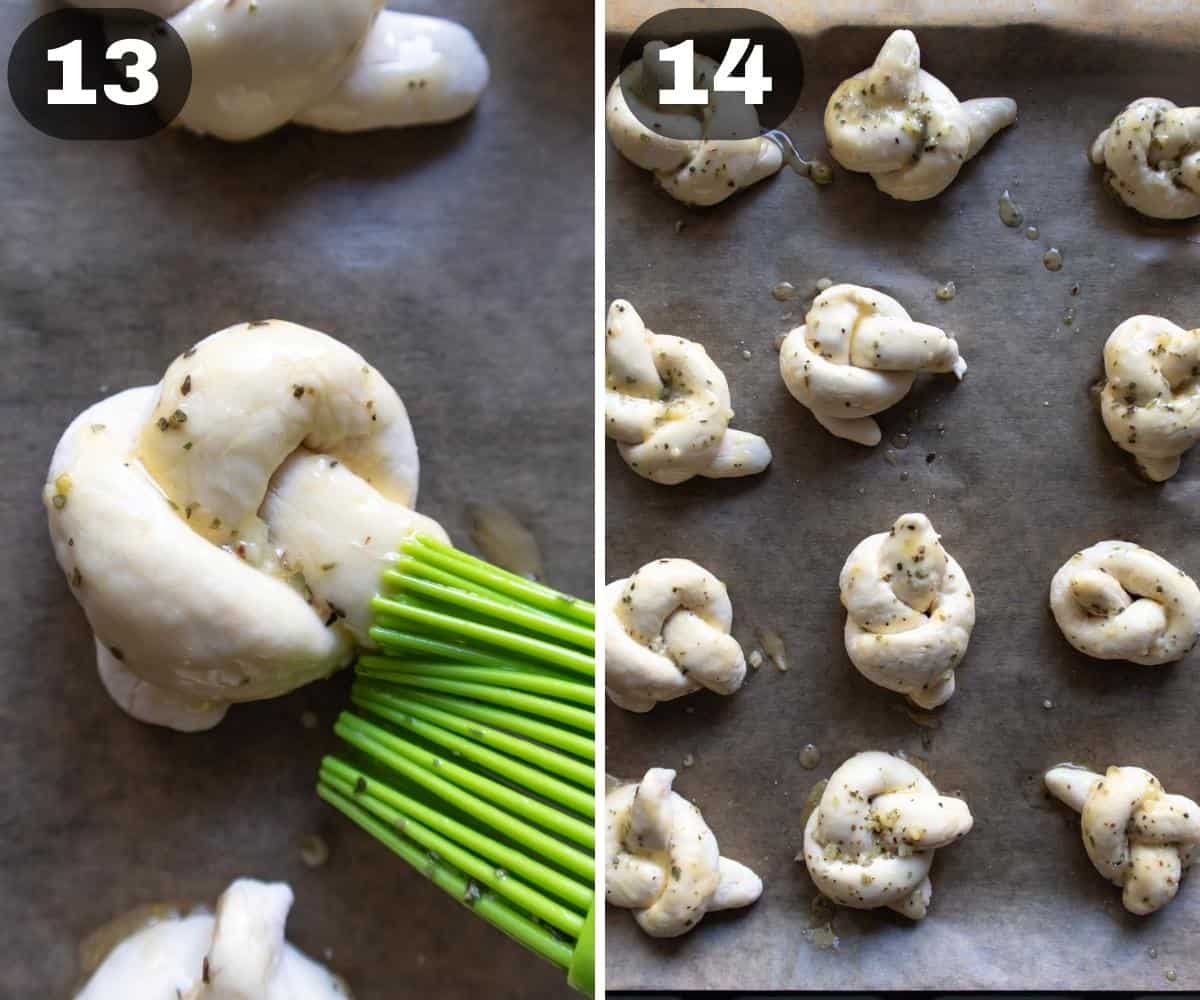
Check the process images below to see how to tie the garlic knots.

Step 4: Bake
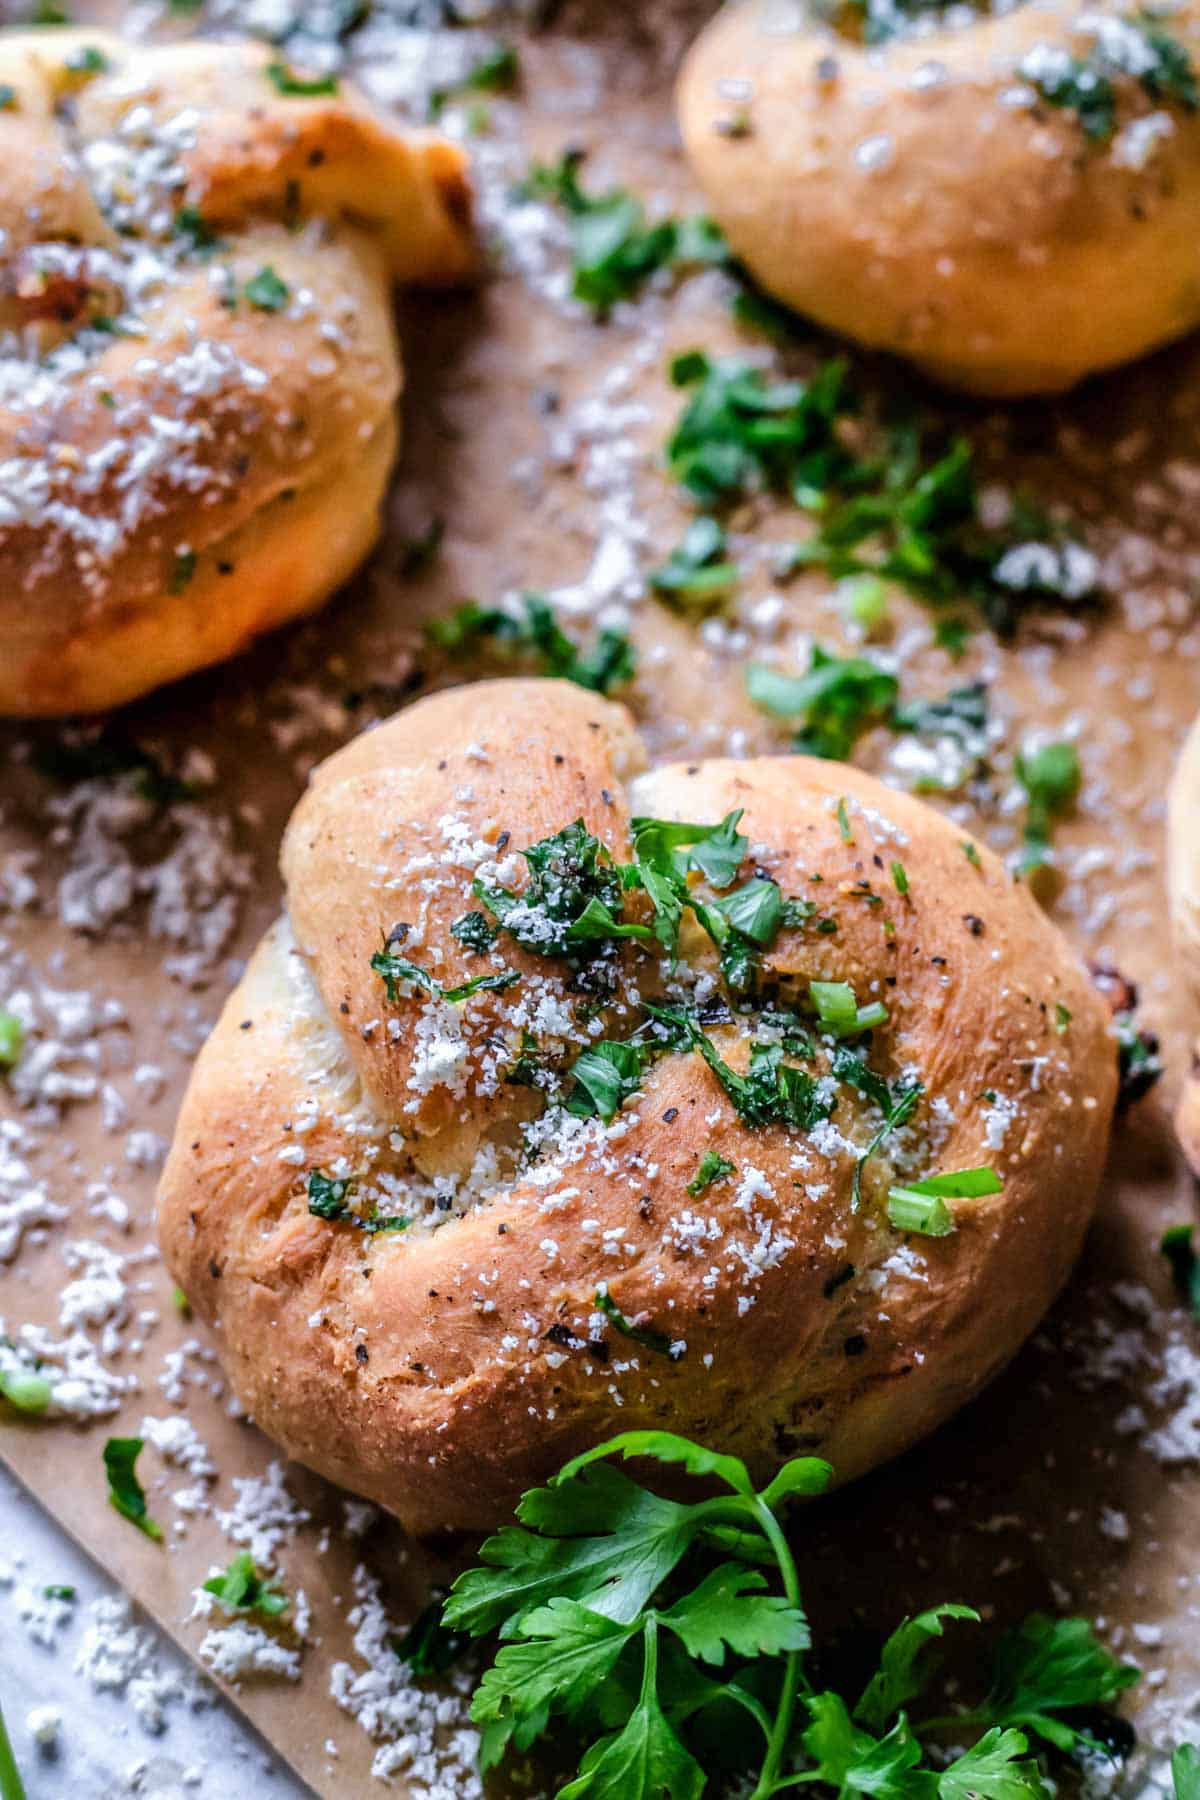
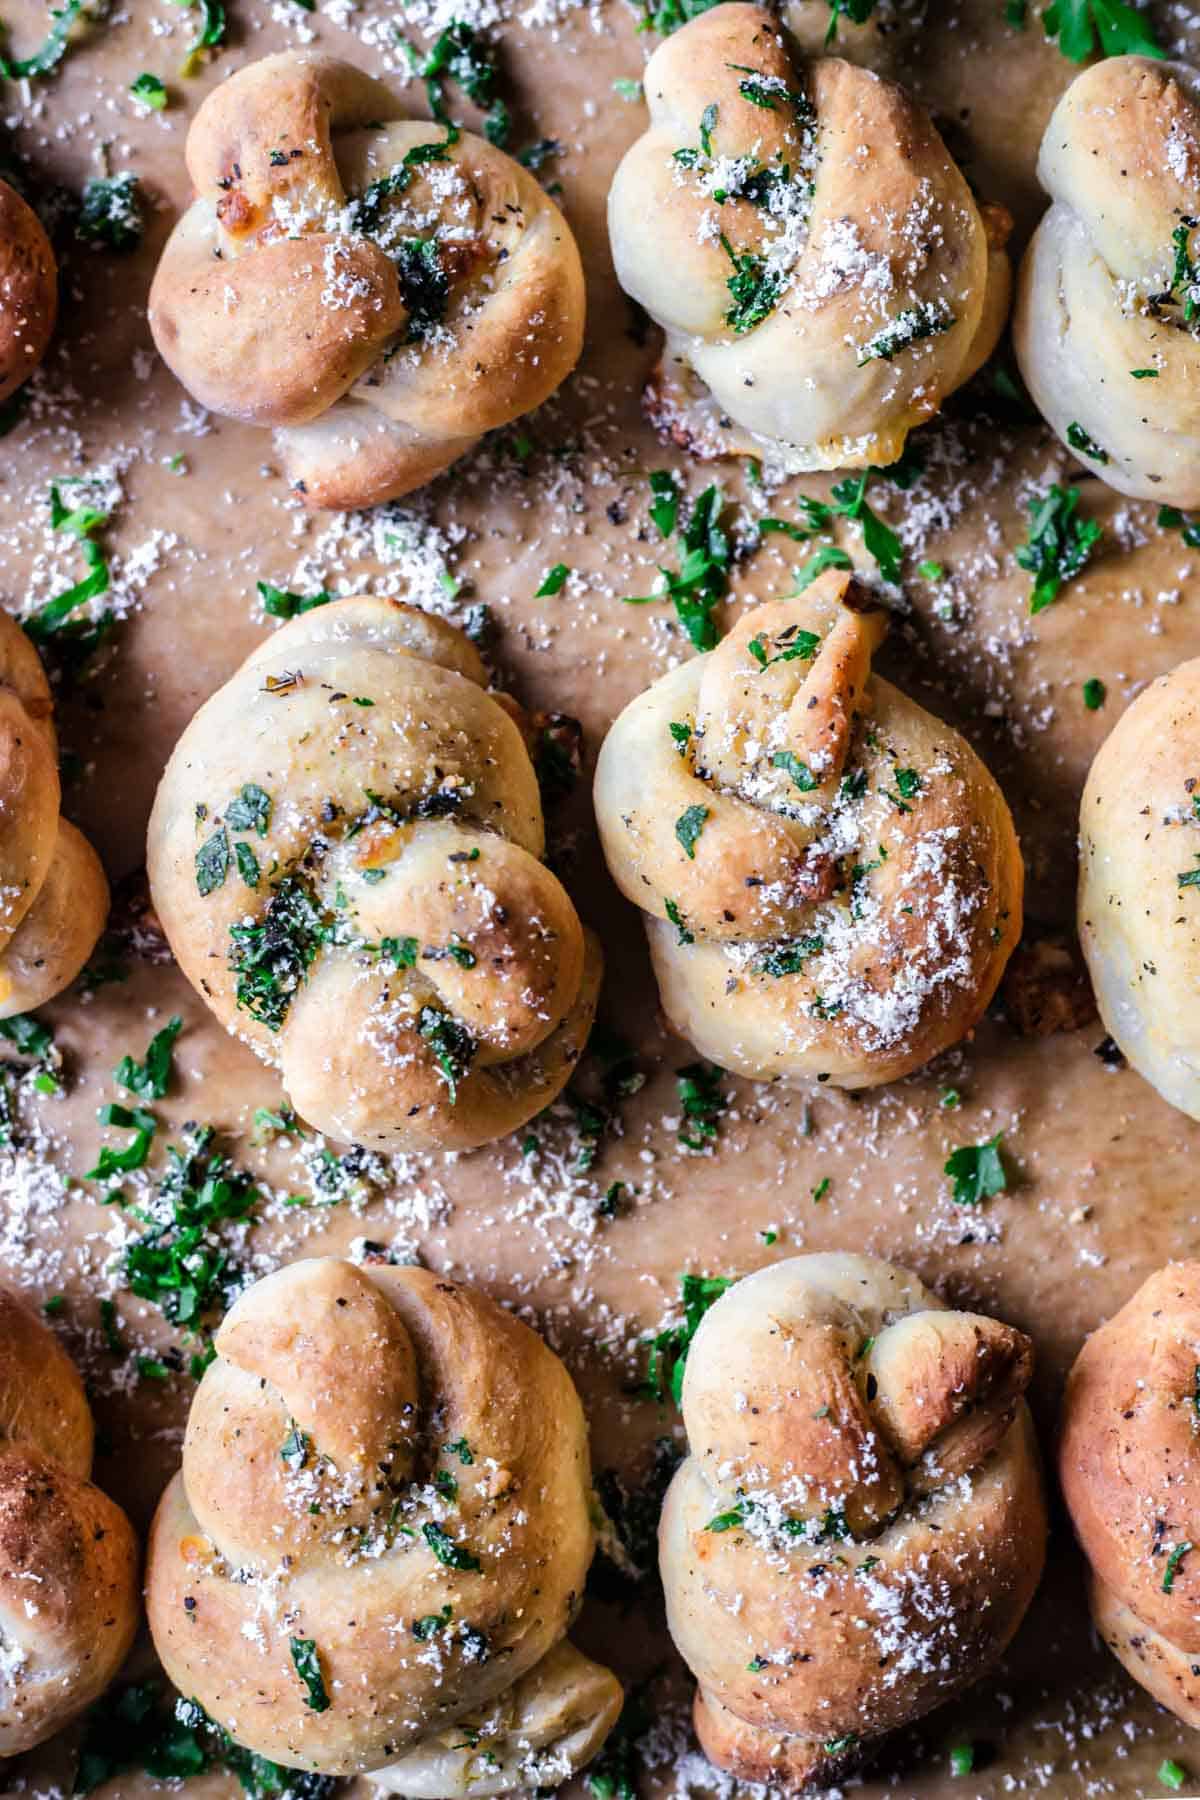
Place the knots on a baking tray or cast iron pan, cover them with a plastic wrap or kitchen towel, and let them rest at room temperature for 20 to 30 minutes. Once they've risen, brush them with garlic butter (but reserve half to baste after baking.) Place them in the preheated oven and bake at 180 C for 20-23 minutes or until golden brown on top. Then remove them from the oven and brush the warm knots with the remaining garlic butter. Sprinkle with parmesan cheese and/or parsley.
🍽 Equipment
- Medium bowl
- Whisk
- Stand mixer fitted with the paddle attachment mix (Optional)
- Saucepan
- Baking tray
- Basting brush
🥗 Serving suggestions
- Baste the knots with store-bought pesto.
- For a comforting meal pair these gluten-free garlic balls with a hearty stew, tomato soup, or any soup of your favorite.
- You can serve it traditionally with pasta or Italian pasta salad.
- Another way is finger food like gluten-free pizza rolls.
- Lastly, serve them with dip sauce for garlic bread.
👩🏻🍳 Expert Tips
- Don't use hot water, it will kill the yeast and your garlic knots will not rise.
- During cold weather, place your dough on top of your stove when preheating the oven. The top part gets warm when the oven is heating up
- When leaving your dough to rise, coat it with olive oil so it doesn't stick to the sides of the bowl.
📖 Recipe variations
- Make cheesy garlic knots by stuffing the knots with shredded cheddar cheese before rolling them and tying the knot.
- If you want a more garlicky texture and flavor, consider adding minced garlic or garlic powder to your gluten-free dough.
- Fresh herbs such as Basil, Oregano, Rosemary, and Coriander will be great combinations to your garlic bread as well.
- Make gluten-free pull-apart rolls with pepperoni. Follow this recipe but now add diced pepperoni in your garlic butter and baste your garlic rolls baked in cast iron close to one another for the pull-apart bread effects.
📋 Storage guide
- Cover your garlic knots with a cloth or put them in an airtight container and they will stay fresh for up to 2 days on the counter.
- Transfer them into an airtight container then put them in the fridge, they will stay fresh for up to 4 days.
- To freeze for up to 3 months, wrap them with cling film then transfer them to a zip-loc bag.
- To reheat, You can reheat them in the oven or microwave. If you are not pressed for time you can let them thaw overnight on the counter then warm them in the microwave for about a minute or less.
💭 FAQ
Place your dough in the oven with a baking pan filled with boiling hot water to increase the temperature and moisture to help activate the yeast in the dough.
It's not necessary to knead because the gluten-free dough gets its consistency from xanthin gum.
Did you make this? Tell me about it! Leave a ⭐ REVIEW and COMMENT below!
🍞 More Gluten-Free Bread Recipes
Recipe
Gluten-Free Garlic Knots
Ingredients
- 3 cups gluten-free flour
- 2 tablespoon granulated sugar
- 7 g Instant Yeast
- ⅓ cup greek yogurt
- ½ stick melted butter
- 1 cup warm water
- ½ teaspoon salt
For the Garlic Butter
- 5 tablespoon butter
- 3 garlic cloves (minced)
- 1 teaspoon Italian Seasoning
- ¼ teaspoon salt
Toppings (after baking)
- ¼ cup grated parmesan cheese (optional)
- 2 tablespoon chopped fresh parsley (optional)
Instructions
To Make the Garlic Knots
- In a medium bowl add the flour, salt, and sugar and whisk to combine well. Add the yeast and whisk one more time. Add the yogurt, melted butter and water, and either with your hands or with a stand mixer fitted with the paddle attachment mix on medium speed for about 3 minutes. The dough should be a little bit sticky. Cover the dough and let it rise in a warm spot for 1 hour.
- While the dough is rising prepare the garlic butter: Mince 3 garlic cloves and mix them with melted butter and Italian seasoning.
- When the dough is ready, divide it into two parts and shape each part into a lag. With a sharp knife cut the lof into 11 1-inch stripes. Roll each strip into ropes. Tie each into knots. You can tuck the two end of the knots underneath the knot or leave them out.
- Place the knots on a baking tray or cast iron pan,cover them with a plastic wrap or kitchen towel and let them rise at room temperatire for 20 to 30 minutes
- Preheat the oven to 350℉ (180℃)
- Brush the knots with garlic butter (but reserve half of the butter for when the knots come out of the oven). Place them in the oven and bake for about 20 to 25 minutes or until golden brown on top.
- Remove from the oven and brush the warm knots with remaining garlic butter
- Spribkle with parmesan cheese and/or parsley, if using.

Leave a Comment