
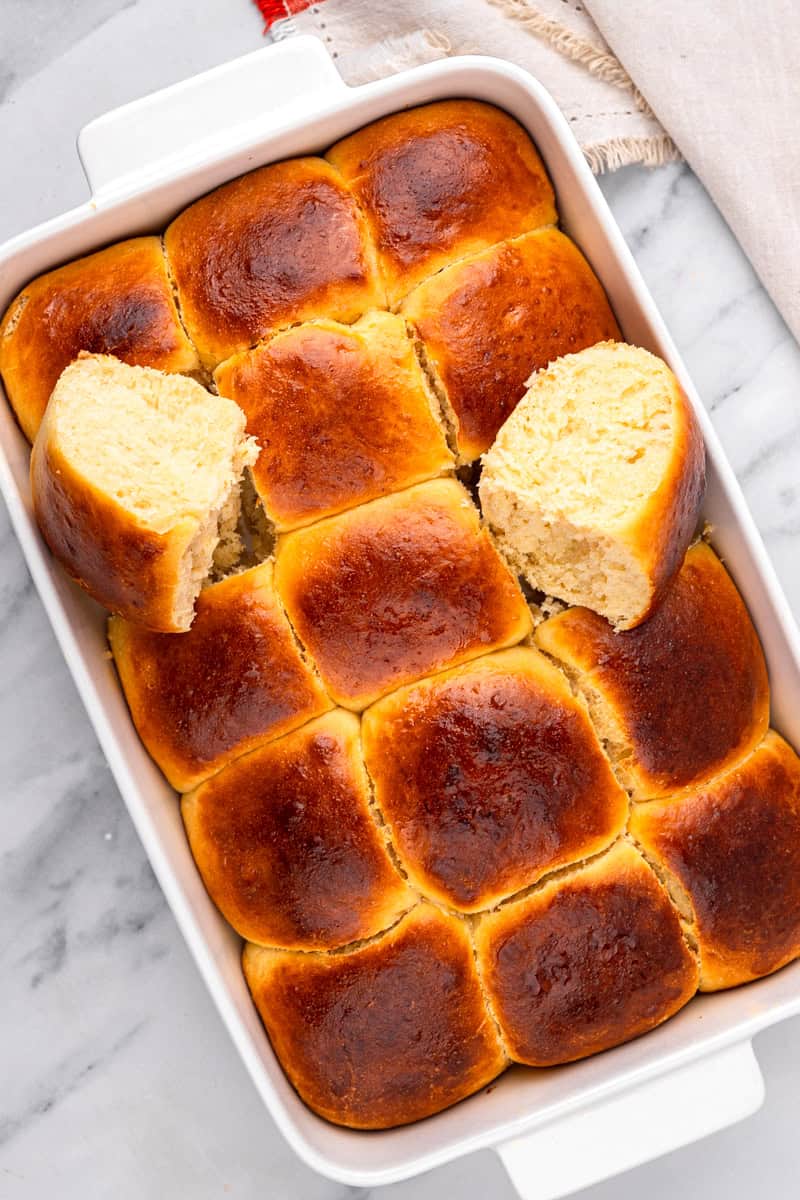
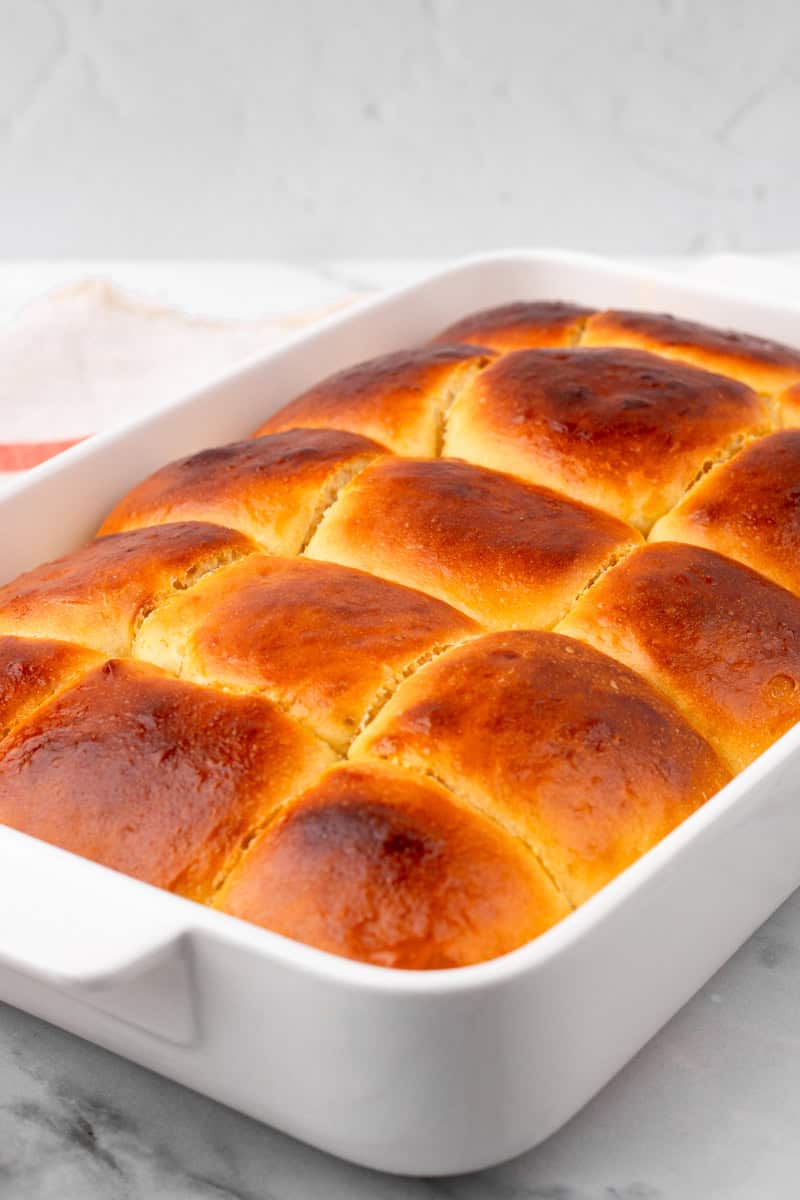
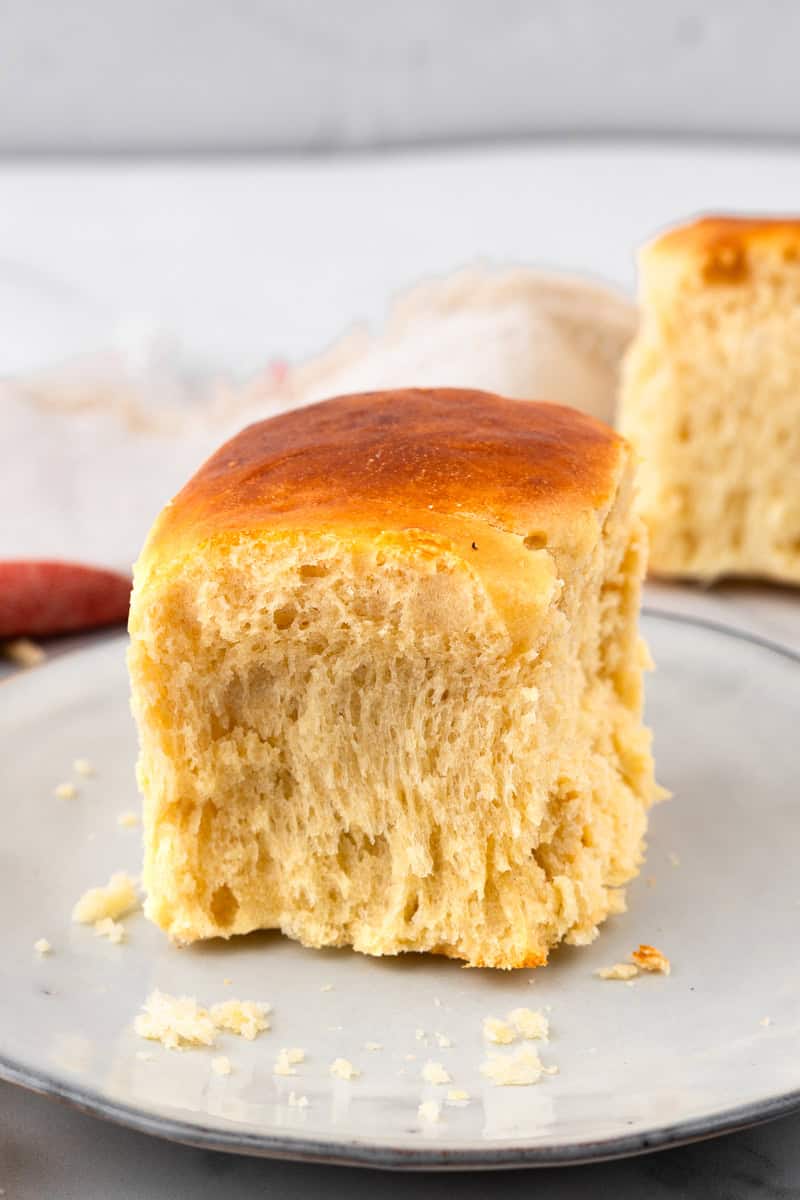
These Gluten-Free Hawaiian rolls are soft, fluffy, buttery, and slightly sweet. The best part is that you won’t even know that they are gluten-free!
If you are looking for more gluten-free baked goods, check out these Gluten-Free Dinner Rolls or Gluten-Free Crescent Rolls.
Jump to:
🌟 Recipe Highlights
- They taste just like regular Hawaiian rolls– They have the same soft and fluffy texture and sweet and buttery flavor just like regular rolls.
- Quick and Simple – These rolls require simple ingredients that you may already have in your pantry. Also, you don’t need any baking skills to make them
- Dairy-Free Option – Can be made dairy-free with simple swaps.
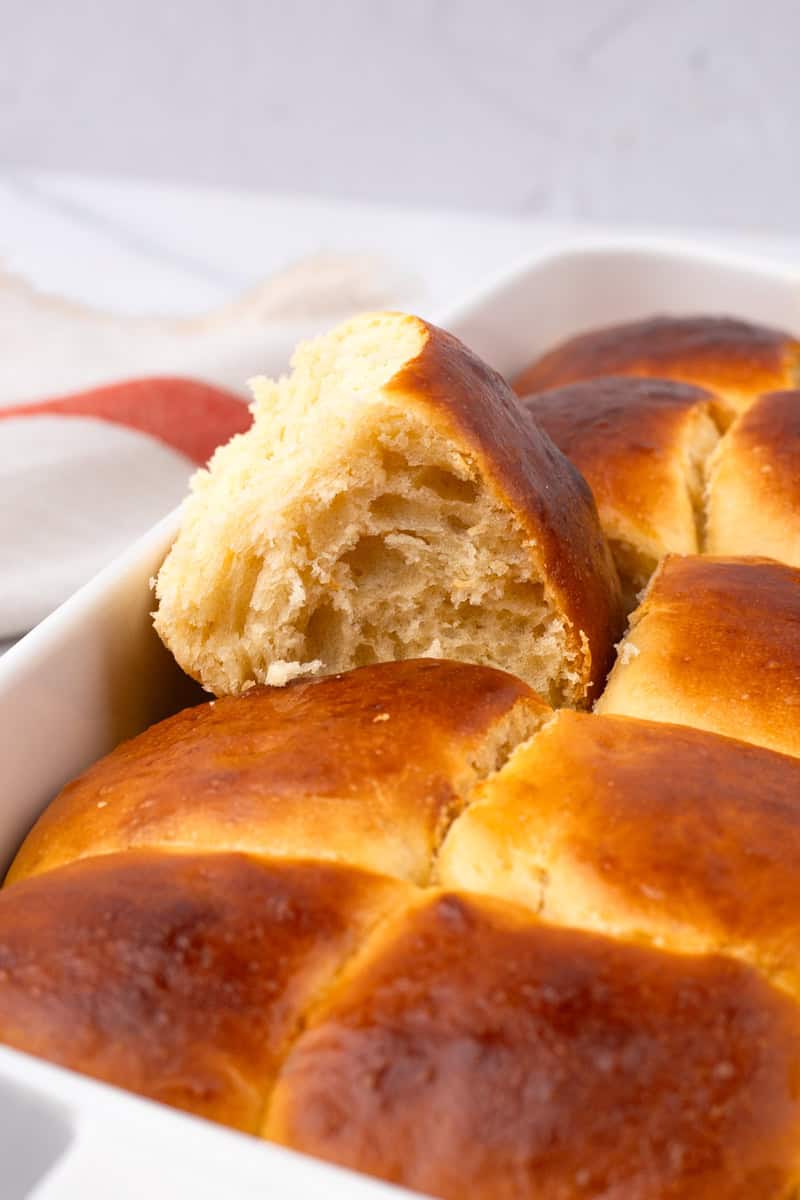
- Versatile. You can serve these rolls on their own, with butter or jam, a a side to savory dishes, or make sliders.
🧈 Ingredients & Substitutes
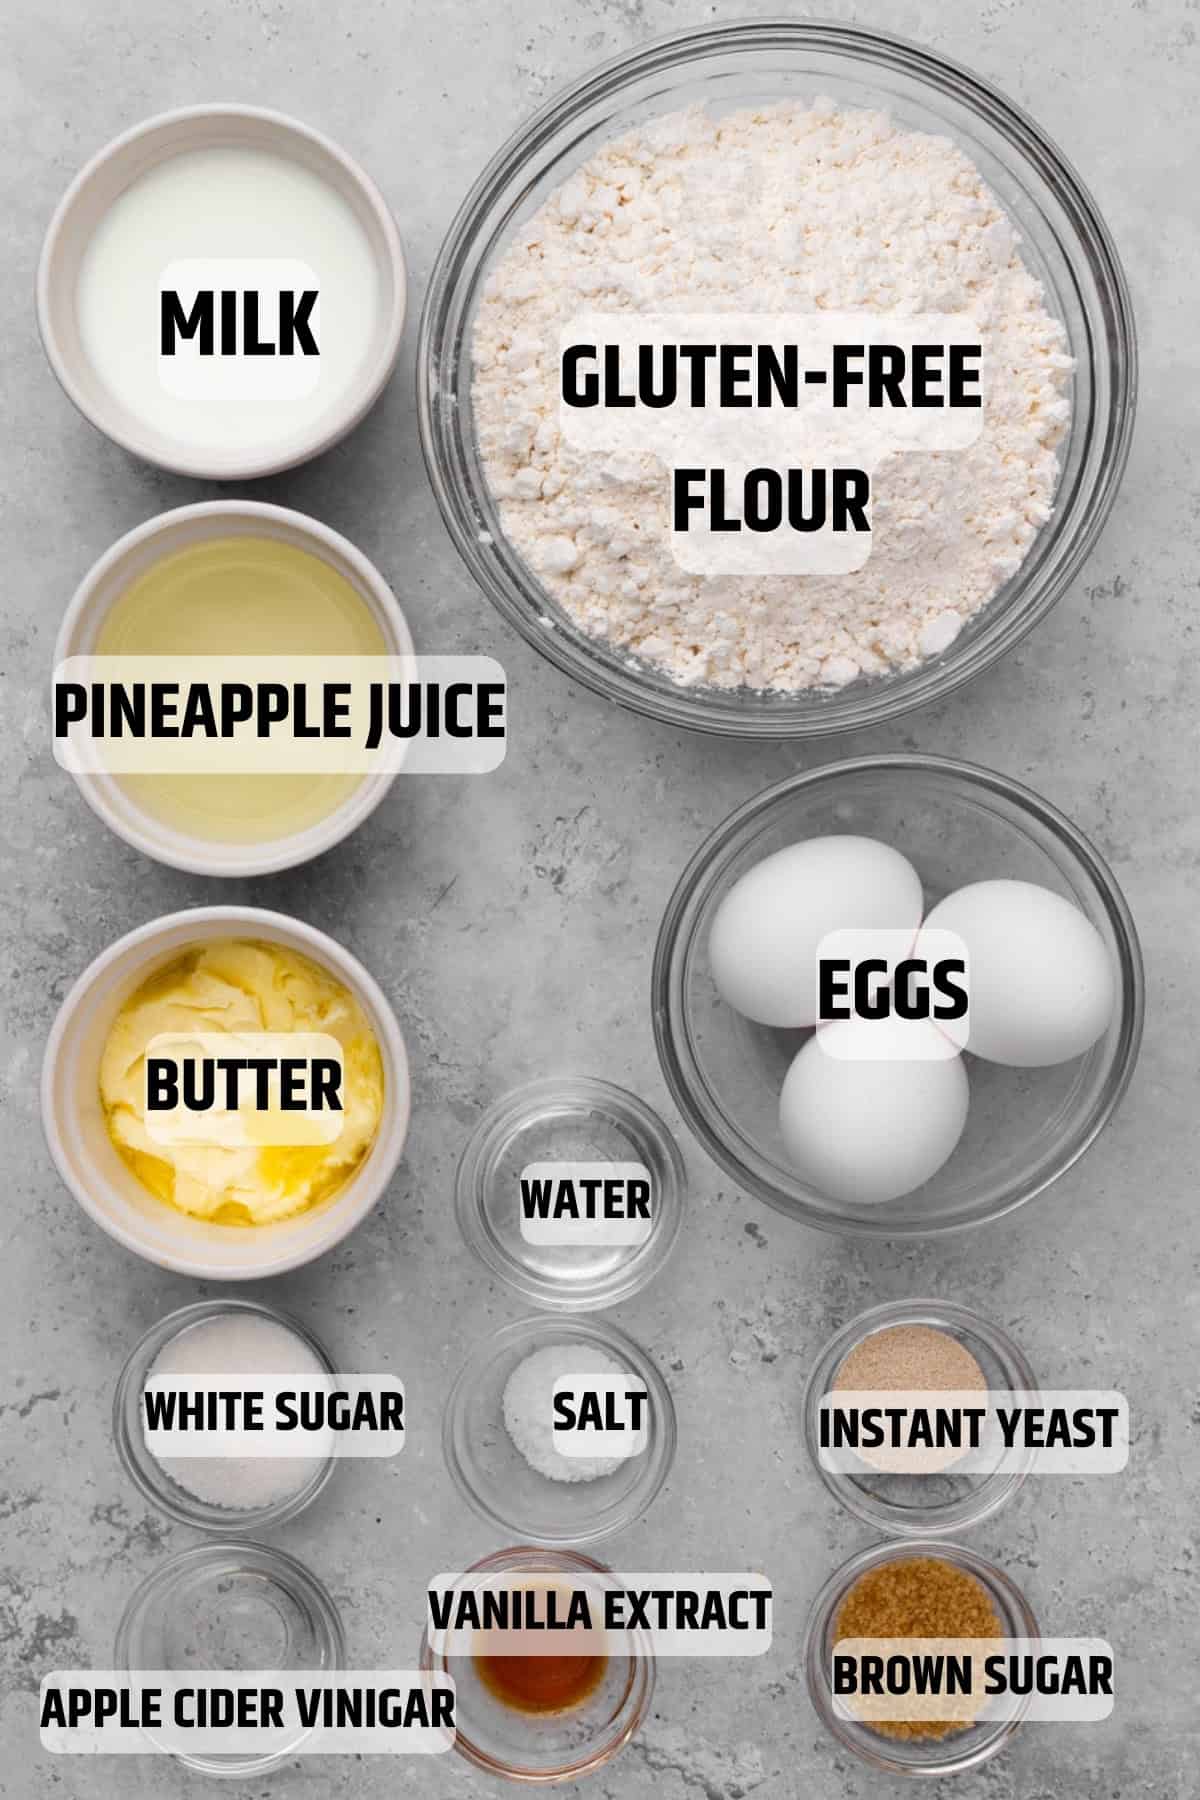
Gluten-Free Flour – I recommend using a store-bought blend such as King Arthur Measure for Measure Flour or Bob’s Red Mill. Regardless of which flour brand you choose to use, just make sure that it contains xanthan gum. Xanthan gum is the binding agent in gluten-free baking.
Salt – Enhances flavor.
Instant Yeast – Helps the dough rise quickly. I prefer using instant yeast because you can add it directly to the dough. However, you can also use active dry yeast. If using active dry yeast, use 2 ½ teaspoon and activate it in warm water before adding to the dough.
Eggs – Provides the dough with structure. I recommend using eggs that are at room temperature for the best results.I have not tested this recipe without eggs or any egg replacers.
Unsalted Butter – Adds richness and moisture. If you want to make Dairy-free Gluten-free Hawaiian rolls, you can use any vegan butter.
Milk – Use lukewarm milk to help in activating the yeast. You can use regular or dairy-free milk. Alternatively, you can also use water.
Pineapple Juice – This is the signature ingredient and what differentiates these rolls from any other rolls.! The pineapple juice adds natural sweetness and softness.
Granulated Sugar & Brown Sugar – Give the rolls their sweet flavor. If you want your rolls less sweet you can decrease the amount of sugar. You can also substitute brown sugar with coconut sugar, cane sugar, or more white sugar if needed.
Vanilla Extract – Enhances the sweet flavor.
Apple Cider Vinegar – Helps activate the baking process, making the rolls lighter. You can substitute it with regular white vinegar.
🥣 How to make these Gluten-Free Hawaiian Rolls
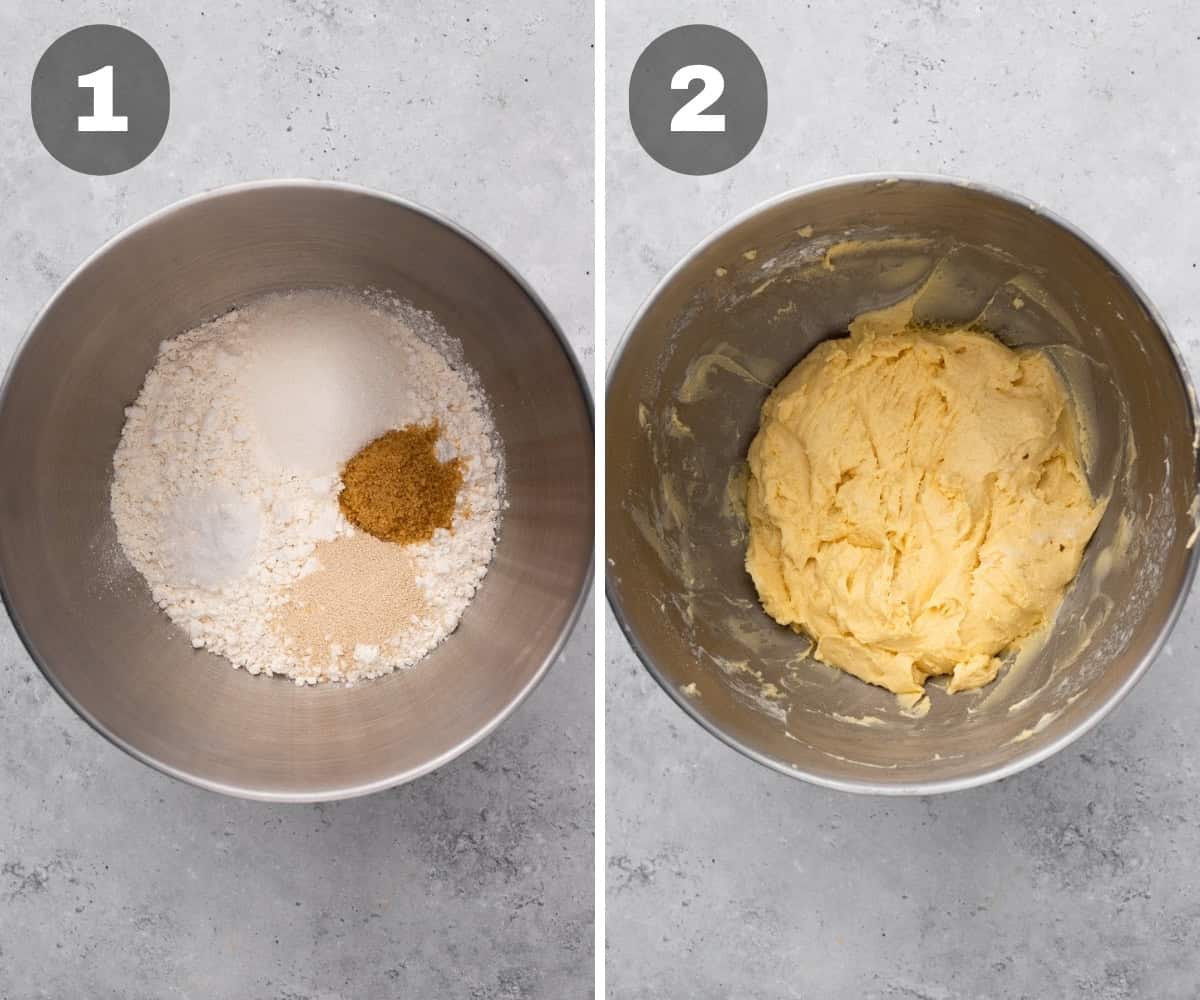
Step 1: Make the Dough
In a large mixing bowl, whisk together gluten-free flour, instant yeast, granulated sugar, brown sugar, and salt. Warm the milk to 115°F (45°C). Ensure it is warm but not too hot, as high temperatures can kill the yeast. Add the warm milk, softened butter, eggs, pineapple juice, vanilla extract, and apple cider vinegar to the dry ingredients. Blend thoroughly with an electric mixer until well combined.
Step 2: Shape the Rolls
Grease a 9×13-inch baking pan (or two 9-inch square or round pans). You can also use a cast-iron skillet or a lined baking sheet.
Divide the dough into 15 equal parts and roll each one into a ball. If the dough feels too soft, add a bit of flour. Alternatively, if your dough feels too soft, you can also use an ice cream scoop, portion the dough into balls, and place them in the pan. To prevent sticking, spray the scoop with gluten-free cooking spray.
Use a spatula to smooth out the tops of the dough balls.
Step 3: Let the Dough Rise
Cover the pan with a clean kitchen towel and let the rolls rise in a warm place for about 1 hour. They should become puffy and slightly larger.
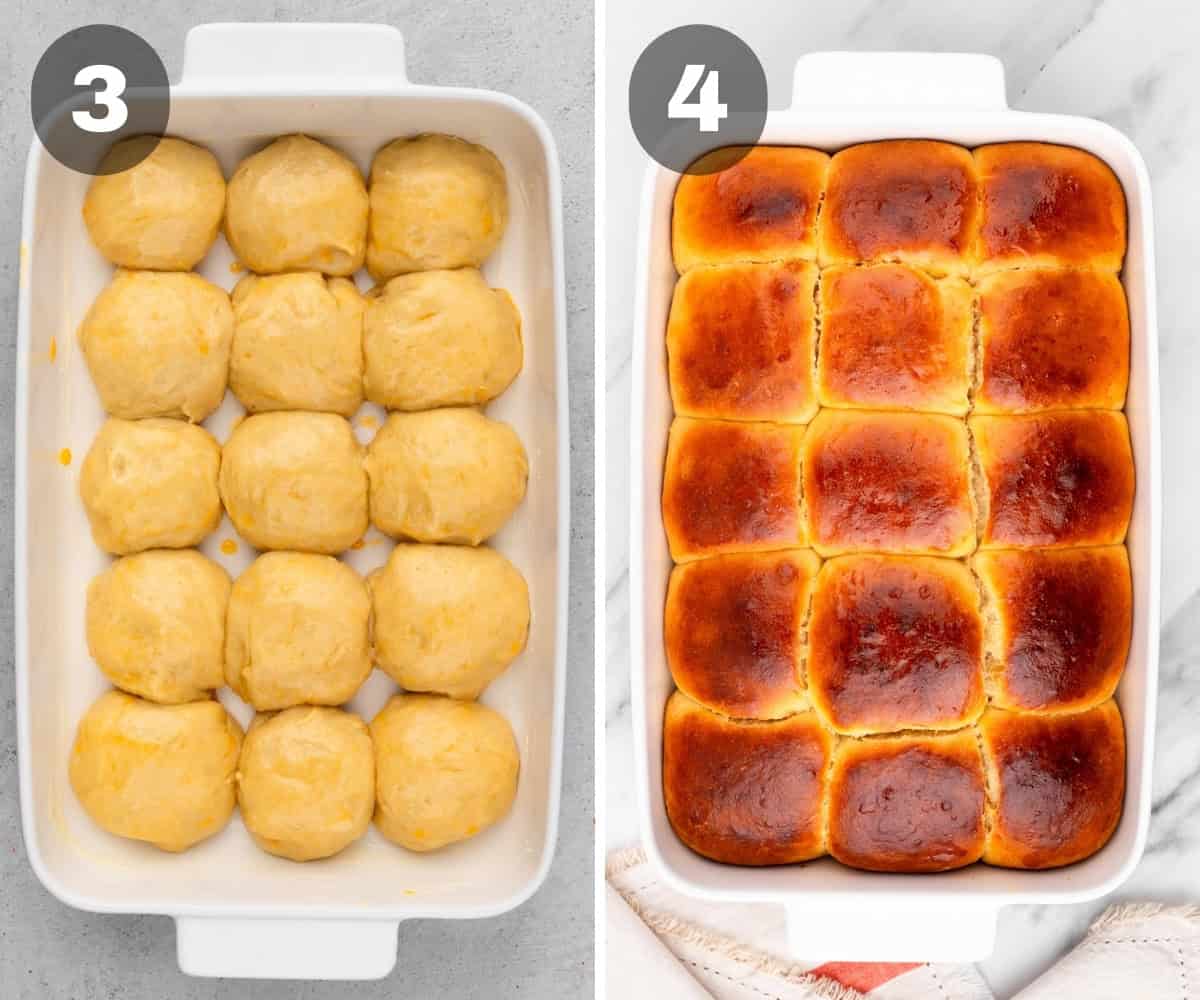
Step 4: Apply Egg Wash and Bake
Preheat the oven to 350°F (177°C) and adjust the rack to a lower position to prevent over-browning. Whisk one egg with 2 tablespoons of water and brush it over the rolls for a golden finish. Bake for 25-30 minutes until the tops turn a golden brown.
Step 5: Finishing Touch
Melt 2 tablespoons of salted butter and brush it over the warm rolls.
Let the rolls cool slightly before serving. Enjoy!
📖 Storage Instructions
Store them in an airtight container at room temperature for 2-3 days or in the refrigerator for up to a week. You can store them in the freezer to keep them fresh for a longer period.
To defrost, leave them to thaw at room temperature. To refresh them, warm them up in the oven for a few minutes.
👩🏻🍳 Expert Tips
- Check Your Yeast – Make sure that your yeast is fresh and active before use. Expired yeast won’t allow your rolls to rise properly.
- Room Temperature Ingredients – Eggs and butter should be at room temperature for even mixing.
- Avoid Overheating Milk – Milk should be lukewarm, not hot, to activate the yeast properly.
- Use a Warm Environment for Rising – If your kitchen is cold, place the rolls near a heater or in a slightly warmed oven (turned off) to help them rise.
- Smooth Dough with a Spatula – Gluten-free dough can be sticky. Use a spatula or damp hands to shape the rolls neatly.
- Bake on a Lower Rack – This prevents the tops from browning too quickly while allowing the inside to bake through.
- Brush with Butter After Baking – This gives the rolls a beautiful shine and enhances the buttery flavor.
💬 FAQ
Yes! Simply replace the butter with a dairy-free alternative and use a dairy-free milk substitute like almond milk or coconut milk.
Yes! Prepare the dough, shape the rolls, and cover them tightly. Store in the fridge overnight, then let them rise at room temperature for an hour before baking.
📖 More Gluten-Free Baked Goods
Did you make these gluten-free rolls? Tell me about it! Leave a ⭐ REVIEW and COMMENT below
Recipe

Gluten-Free Hawaiian Rolls
Ingredients
- 2¾ cup gluten free flour
- 1 teaspoon salt
- 2 teaspoon instant yeast
- 2 eggs room temperature
- ¼ cup unsalted butter softened, you can also use dairy-free
- ½ cup milk regular or dairy-free
- ½ cup pineapple juice from canned pineapple
- 2 tablespoon granulated sugar
- 1 tablespoon brown sugar
- ½ teaspoon vanilla extract
- 1 teaspoon apple cider vinegar
For egg wash & finishing:
- 1 egg ligthly beaten
- 2 tablespoon water
- 1 tablespoon salted butter 14g, melted
Instructions
- In the mixing bowl of your electric mixer, mix together gluten-free flour, instant yeast, white and brown sugar, and salt.
- Warm the milk to 45°C (115°F). I use a thermometer to check the temperature. If your milk is too hot it will kill the yeast. Add the milk together with the softened butter, eggs, pineapple juice, vanilla extract, to the bowl with the flour mixture and mix until fully combined
- Grease a 9×13-inch baking pan (or two 9-inch square or round pans). You can also use a cast-iron skillet or a lined baking sheet.
- Divide the dough in 15 equal parts and roll each one into a ball. If the dough feels too soft add a bit of flour. Alternatively if your dough feels too soft you can also use an ice cream scoop, portion the dough into balls and place them in the pan. To prevent sticking, spray the scoop with gluten-free cooking spray.
- Cover the pan with a kitchen towel and let the rolls rise in a warm place for 1 hour.
- To make the egg wash, whisk the egg with 2 tablespoons of water. Brush all over the rolls.
- Adjust the oven rack to a lower position and preheat the oven to 350°F (177°C). (It’s best to bake the rolls towards the bottom of the oven so the tops don’t burn.)
- Bake for about 25 to 30 minutes. Tops should be golden brown.
- Melt 2 tablespoons of butter and brush the tops of the rolls before serving.
- Cover leftover rolls tightly and store at room temperature for 2-3 days or in the refrigerator for up to 1 week.
Notes
- Gluten-Free Flour – I recommend using a store-bought blend such as King Arthur Measure for Measure Flour or Bob’s Red Mill. Regardless of which flour brand you choose to use, just make sure that it contains xanthan gum. Xanthan gum is the binding agent in gluten-free baking.
- You can also use active dry yeast. If using active dry yeast, use 2 ½ teaspoon and activate it in warm water before adding to the dough.
- If you want your rolls less sweet you can decrease the amount of sugar. You can also substitute brown sugar with coconut sugar, cane sugar, or more white sugar if needed.
- You can substitute the apple cider vinegar with regular white vinegar.
- Use room temperature ingredients
- The milk should be lukewarm. Be careful not to overheat it as that can kill the yeast.
- Use a Warm Environment for Rising – If your kitchen is cold, place the rolls near a heater or in a slightly warmed oven (turned off) to help them rise.
- Smooth Dough with a Spatula – Gluten-free dough can be sticky. Use a spatula or damp hands to shape the rolls neatly.
- Bake on a Lower Rack – This prevents the tops from browning too quickly while allowing the inside to bake through.
- Brush with Butter After Baking – This gives the rolls a beautiful shine and enhances the buttery flavor.
Leave a Comment